Happenings in the Bee Yard
Before we talk about installing nucleus hives, you need updates about what happened in the bee yard this week.
With three queenright colonies, I am watching their progress with an eye for how they compare. Although I’ll be installing the Nuc into a hive (as part of this article), I’ll give you a quick run-down of how it is progressing. And by next week, I’m naming the colonies and the queens (this is going to be fun!). Expect maximal anglophile literary and historical nerdiness!
The Nuc
The Nuc is showing real signs of growth. If you remember, a few weeks ago I worried about the lack of foragers in the Nuc. That problem has disappeared with a growing cadre of workers now going on regular foraging runs for nectar, pollen and water.
The foragers who are bringing back pollen are carrying pollen baskets packed full. The colony has been busy building some honey stores, storing pollen, and now that the pollen is coming in regularly, the queen is back to regular laying behavior.
The brood pattern is beginning to shape up as well in this small colony. There are still lots of gaps where the original brood transferred to the Nuc with the queen have hatched out and for a while she was not laying due to the lack of pollen.
With the pollen dearth gone, the queen is filling up those empty cells and the workers are now beginning to draw comb on the empty frames.
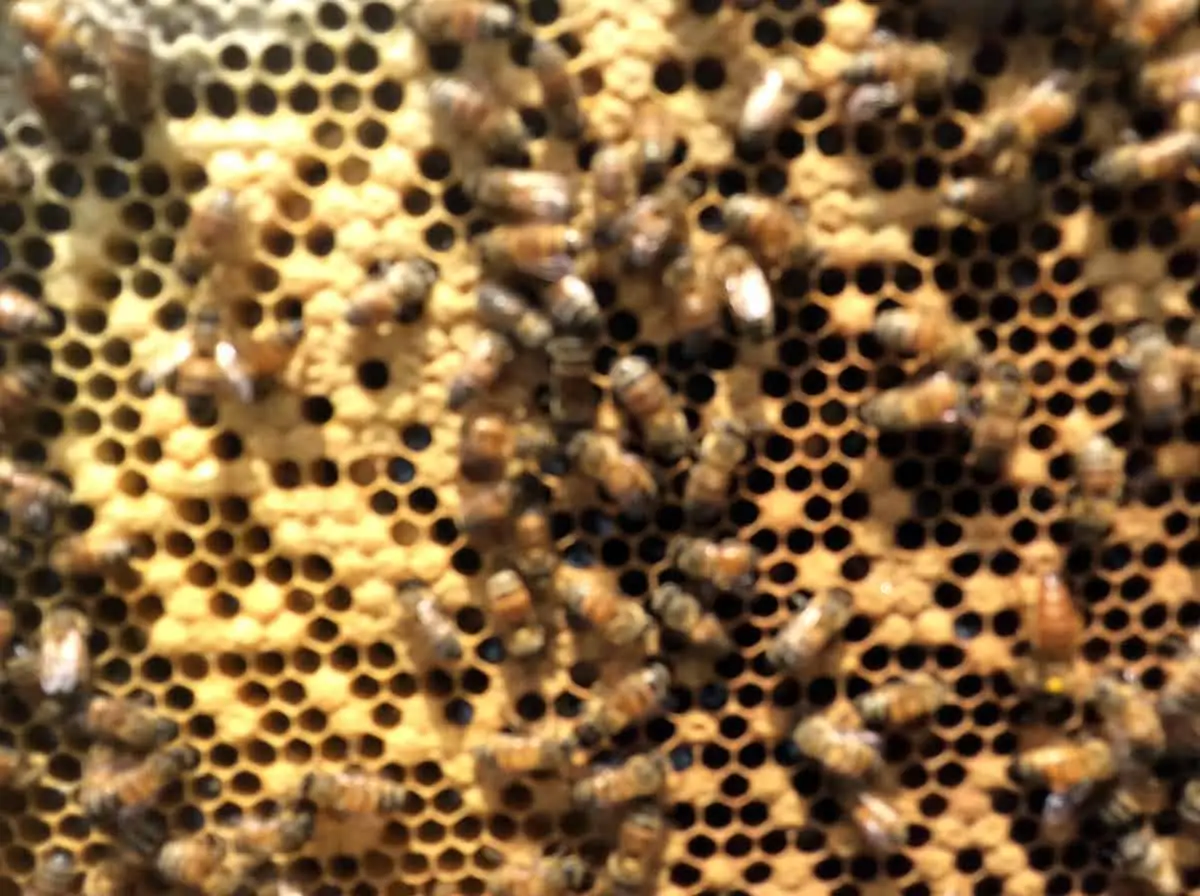
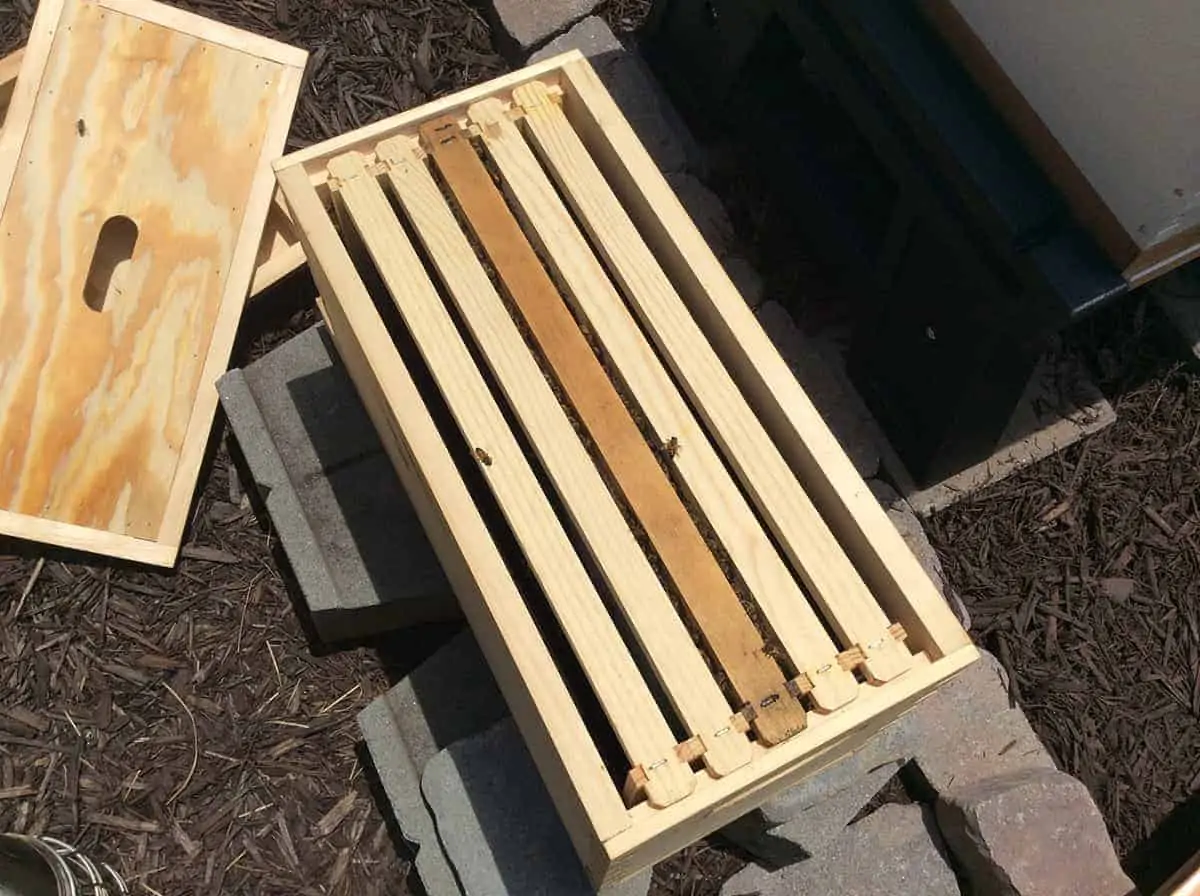
My apologies for the blurry images, my photographic assistance wasn’t available today. But, if you look to the left, you’ll see the new capped brood. That was all larvae last week.
The right side of the frame has the older capped brood. The open cells are where the initial brood hatched out. The queen is slowly building back into a regular capped brood pattern.
In a few weeks, I suspect this colony will be putting on some additional population. A little later, we’ll talk about installing a nucleus hive using this colony.
The Weaker Hive
I don’t believe that this hive will have the moniker of the “weaker hive” much longer. The new Carniolan queen has been busy this week! She has been a very busy lady indeed!
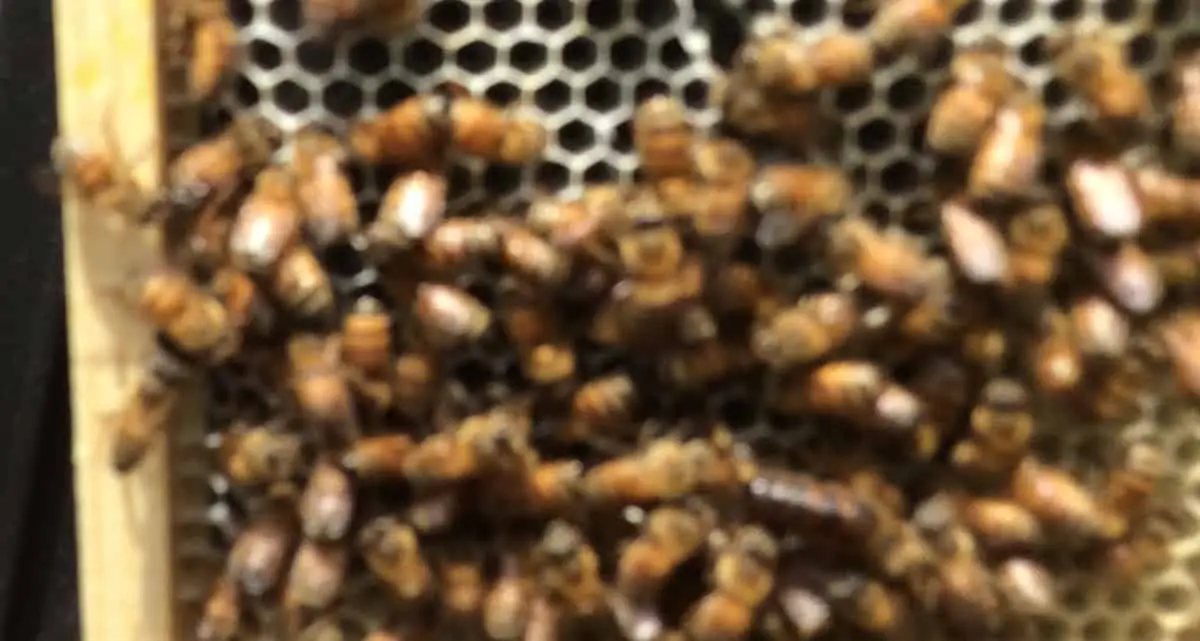
Of the three queens in my colonies, this Carniolan is by far the largest and most robust. When doing an inspection, you just can’t miss that lovely chocolate brown with some really cool highlights. And, since she is so large, it is really impossible to miss her. She dwarfs everything in sight.
Last week I promised you a picture of her and I did get a few. But, when I retreated to the shade trees to check the pictures after my inspection, I discovered that every single one of them is blurry. I bet you can imagine the choice words uttered under the shade trees post inspection! I’ve done my best to enhance the one somewhat decent image of her. I promise you an even better one next week.
The brood pattern in this hive is very solid and the queen has laid eggs on at least four frames in the newly introduced deep box. They had also drawn comb on all of the ten frames in that box. And those vixens had even drained the sugar water.
So what’s a beekeeper to do? I added a ten-frame medium box atop the two deep boxes. Also, I refilled the top hive feeder. This colony shows signs of beginning to ramp up production and may catch up with the stronger hive.
The Stronger Hive
Remember this colony experienced regicide at the hands of the queen raised in the weaker hive. Well, she has settled in quite quickly!
There are plenty of eggs and young larvae. As well, there is a significant quantity of older larvae as well as newly capped brood. This colony remains the strongest of the three colonies in my bee yard.
I love opening this hive for inspections because these bees speak to my musical heart! They always greet me with a loud and growing chorus of buzzing as I work the hive. It really is quite a soothing sound.
The new queen has made herself right at home and is laying eggs in the new deep box added just two weeks ago. In fact, the colony has been busy at work drawing comb in the deep box which now has drawn comb on 9 of the 10 frames. So yes, both of the existing colonies had to have a new ten-frame medium box set in place.
Much of the brood in the lower deep box has emerged and there is plenty of space for new eggs. I will place a queen excluder on the top of the medium box when I place the first honey super. At this rate, that will be in a week or two!
This colony is exceptionally good at propolizing everything in sight! Whatever they are collecting it from creates a really great sticky glue for their purposes.
What’s Up with All the Queens!?!
I did discover a queen cup in the swarm position in this hive. It appeared over the course of this week sometime as it wasn’t present last week. I tore it out and one or two other queen cells.
This colony really does want to raise queens. With my inspection completed, I refilled the top hive feeder and closed up the hive.
This colony requires close monitoring as it seems to grow quickly and with all the eggs that will be developing into larvae over the next week they are really putting a great example of a worker population explosion.
Installing Nucleus Hives (Nuc)
When you obtain bees for new colonies, you have only a couple of options: a package of bees, a nuc, or a swarm. Since the latter is a bit of a stretch for a beginner, most new beekeepers will make their first foray with either a package or a nuc.
For those of you thinking about starting with a package of bees, Perfect Bee has a great article describing the process. Starting with a nuc allows you to start with a headstart. Nucs come in both four and five frame varieties with the five frame nuc being the most common starter colony for new beekeepers.
With a nuc, your colony starts with five frames that include drawn comb, brood, pollen, and honey. Additionally, the nuc will have an actively laying and already accepted queen who can begin her duties in your new hive as soon as installed.
I chose a nuc for these reasons. Packages of bees are a great way to start but I wanted to get my colonies off to a quick start. Little did I know what a quick start one of them would get!
Placing the Hive
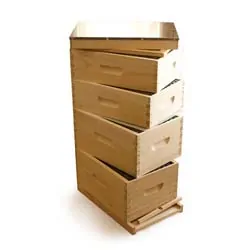
If you are going to install a nuc, be sure that you set your hive up in advance of your nuc pick-up. A Nuc usually will come in one of two options, a small wooden box or a small cardboard box.
The wooden box is more forgiving than the cardboard box but both can easily cause your bees to overheat and perish if you don’t install quickly. Saturday afternoon, I got to work expanding my bee yard to install the new hive that my Nuc would call their home.

I started by laying landscape fabric to kill out the grass and weeds. I also positioned four stone pavers to set the hive stand on.
As I was working on an incline, I spent some significant time working with leveling the base. I placed blocks around the hive as a boundary to retain the mulch and then poured in the mulch.
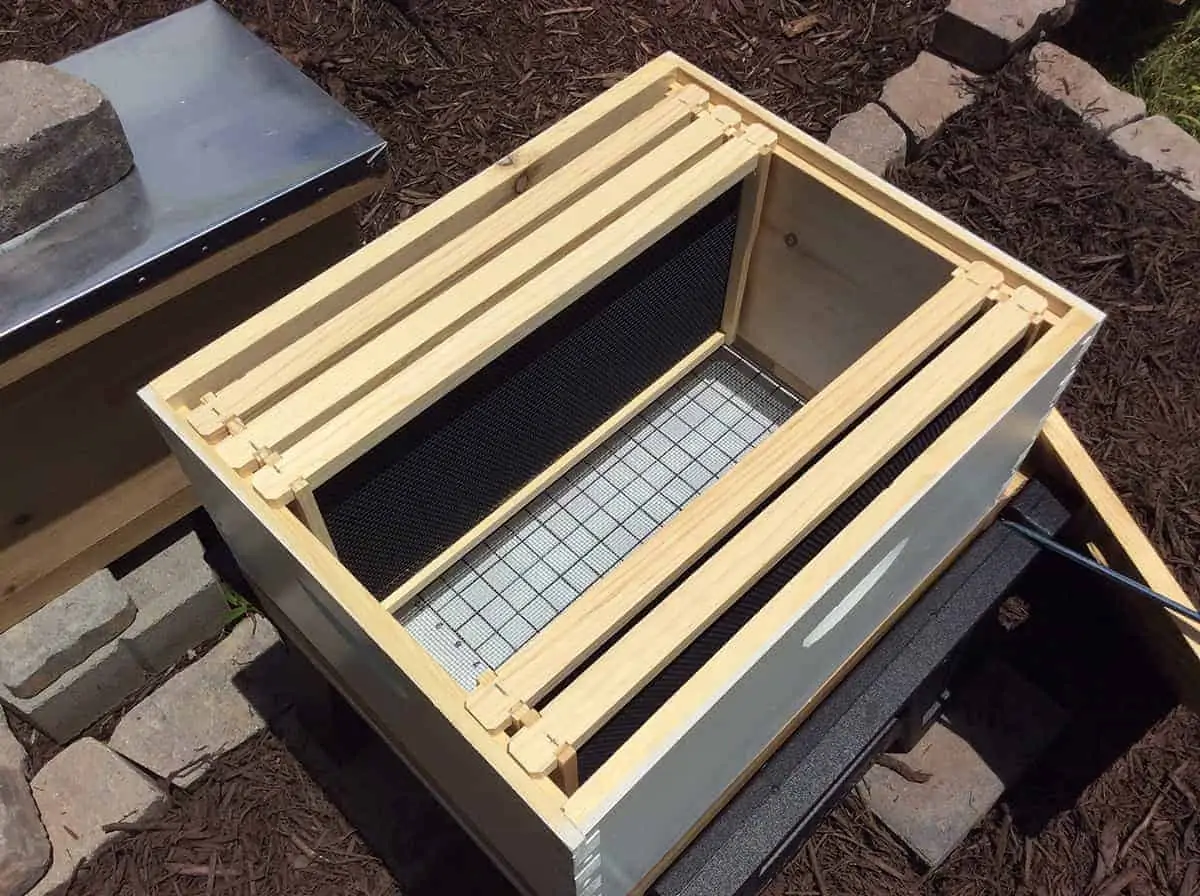
With the prep work complete, it was time to place the actual hive components. I placed this hive a little behind the other hives and immediately adjacent to the Nuc to make the transfer easier as well as make it relatively close to the Nuc’s location.
Did you notice that I had to place a piece of mulch in front of the reduced entrance for this hive? A number of workers from the Nuc decided they wanted to check out their new digs a day early!
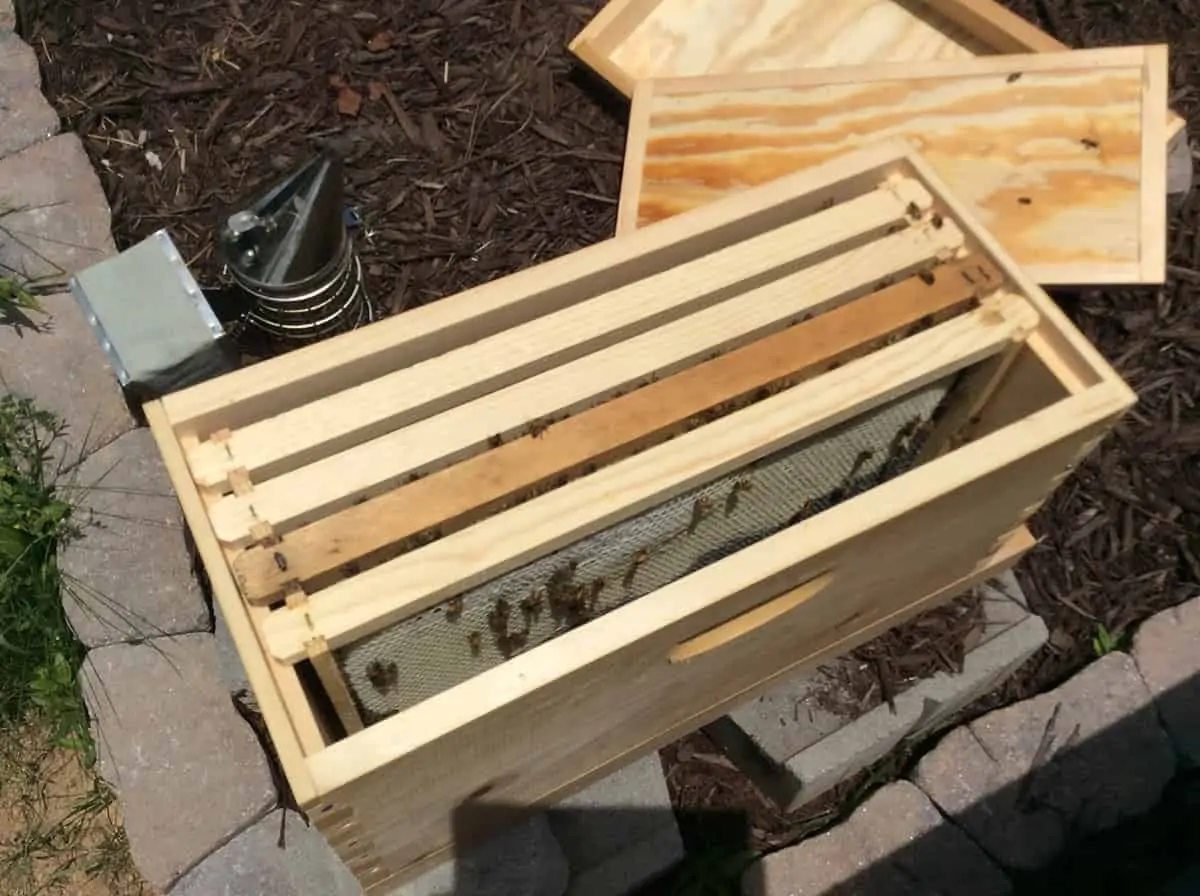
Removing Frames
Before you begin transferring the frames in the Nuc to the deep box, you need to remove at least five frames from the deep box as you will not need these frames. It is a great idea to remove a sixth to give yourself more run when placing the five frames from the Nuc.

Be sure that you set the frames you remove out of the deep box out of the hot sun (especially in the South) or the beeswax coating will start to melt. Yes, I had meltage both on one or two frames and of ME in the bee suit!
You are now ready to proceed to the next step of opening the Nuc to prepare for the transfer of the frames.
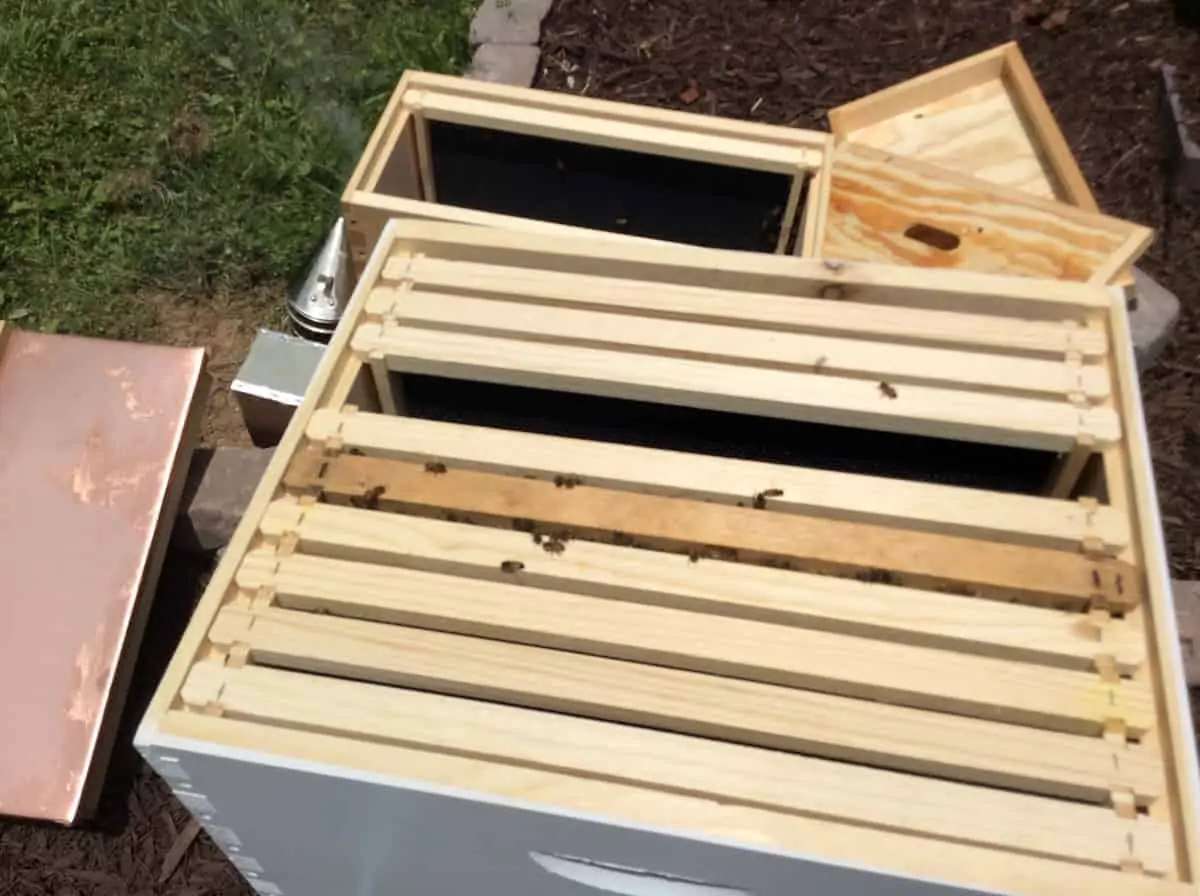
Opening the Nuc and Transferring Frames
With the new hive ready to receive your Nuc’s frames, open up your nuc to begin the process of transferring the frames into the new deep box. Remember, it is important to place the Nuc’s frames in the exact same order as they were in the Nuc.
Be extremely careful as you remove the frames from the Nuc to avoid rolling any bees. Most especially pay attention and don’t roll the queen! Yikes! Continue this process until you have placed all five frames in the deep box.
When you complete the transfer of the five frames, you need to close the hive up and let the bees get to know their new home.
Closing Up the Hive
With a newly transferred nuc into a deep hive box, it is time to close up the hive. But, as part of that process, don’t forget to feed the bees!
These newly installed bees need a lot of help from their keeper. The process of drawing new comb puts a strain on a new colony so give them an assist by feeding them well. If you are using a top hive feeder, place it atop the deep box and fill it with sugar water.
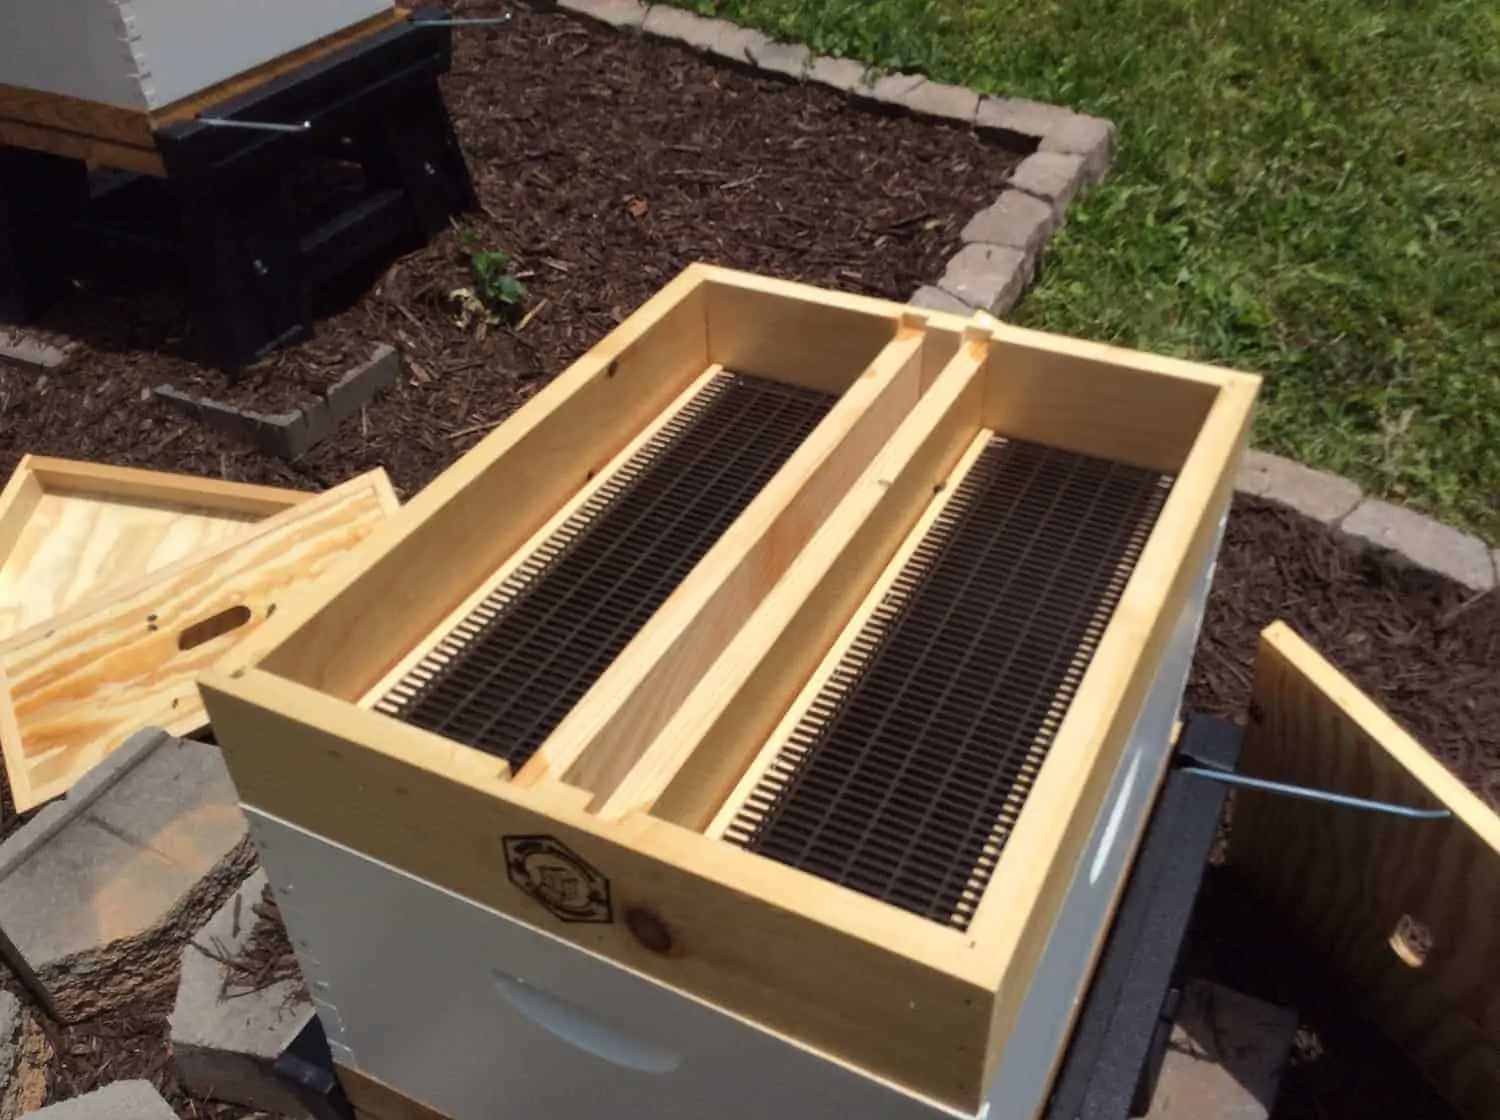
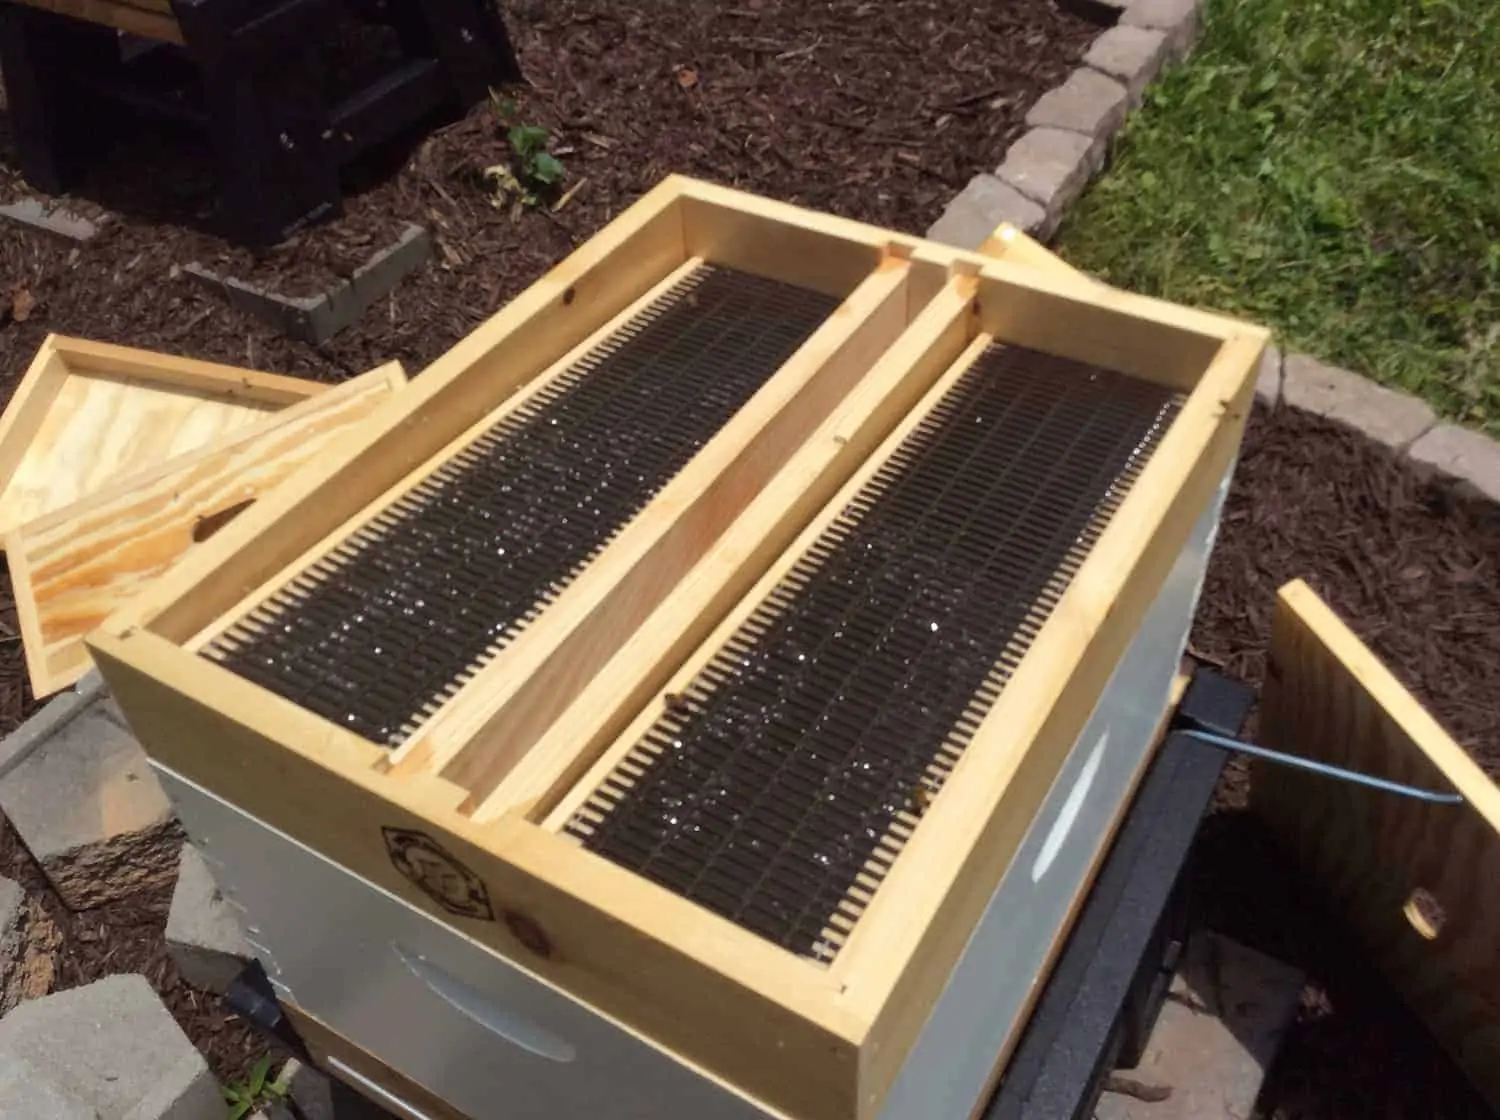
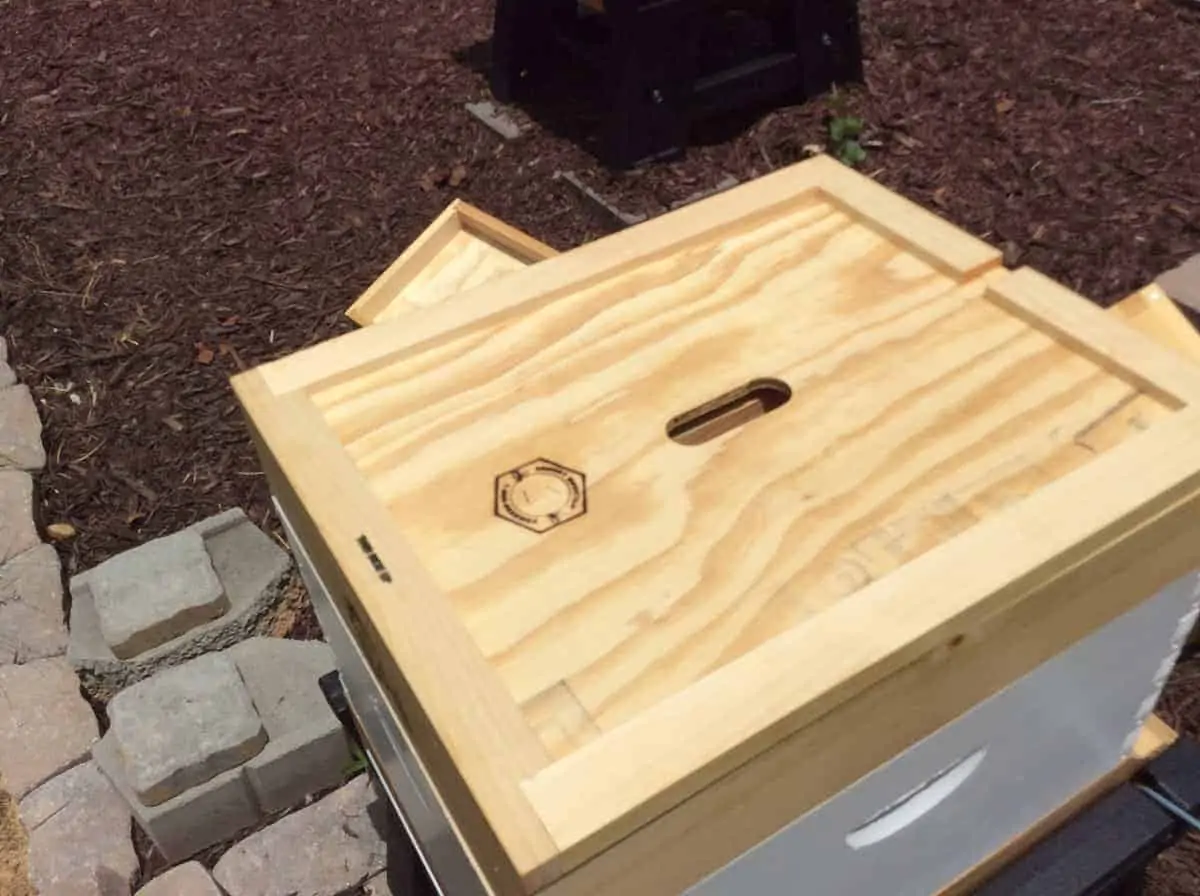
Finally, place the inner cover on the top hive feeder and complete the process by putting the top cover in place.
You will likely want to keep a close eye on the sugar syrup levels so that the bees will not run out during the week.
Think about using an essential oils supplement like Honey B Healthy in your sugar syrup mix. It will make your house smell divine, drive the cats crazy, and the bees love it. It is also quite effective at keeping nosema at bay during the stressful period for the hive.
That’s it! You have successfully installed a nuc into a deep hive box.
Coming Next Week
I had originally intended to do a Varroa Mite test and deal with Small Hive Beetles for this week’s post but the Nuc had other ideas and got itself ready for a transfer! So, next week, look for a discussion of Varroa Mite levels in my hives, updates on small hive beetles, as well as updates about what happened this week in the bee yard.
Until next time, happy beekeeping!