I trust everyone is well into their winter preparations as we are now moving into September. Before we know it, frosts will arrive and the bees will begin their own preparations to move into the winter cluster. They are feverishly raising winter bees as they ready for the cold days of December, January and February (and for some of you, October, November, March and April!).
I am still working on getting approval to use a couple of images for use in my first blog post on bee anatomy so this week I will update you on the installation of my fifth hive in the apiary. And, we’ll talk about a population explosion in Hive Florence. Let’s get to those updates!!
Hive Updates
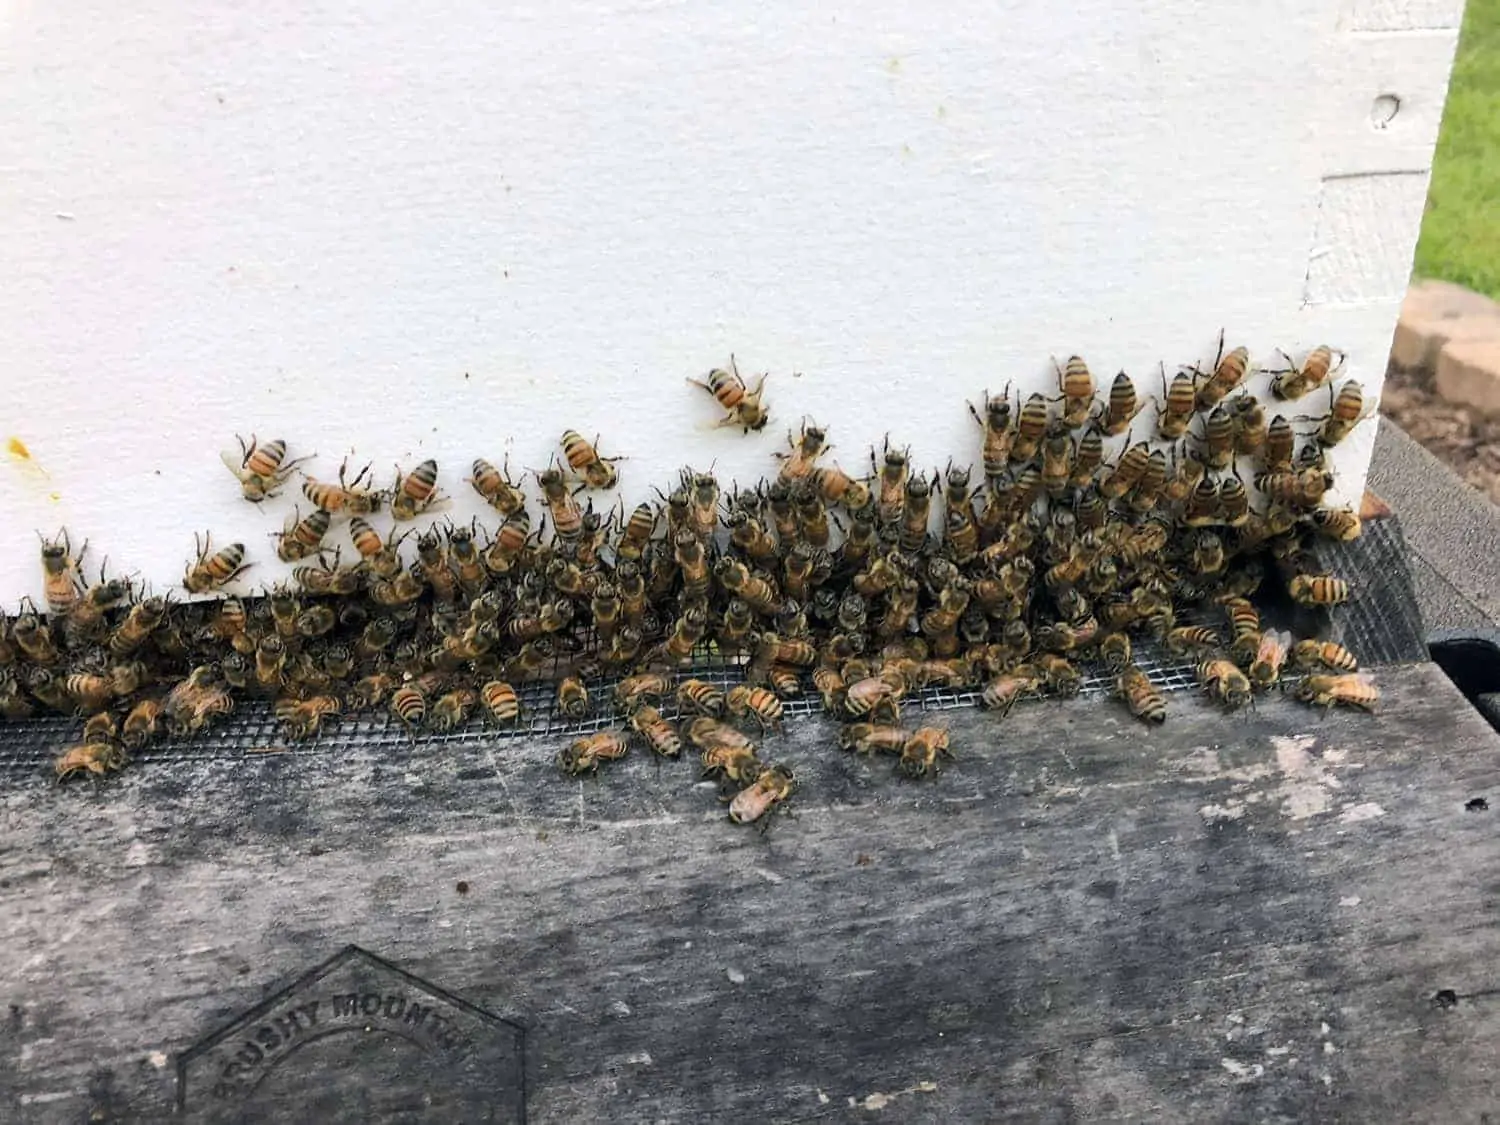
So, even though we are beginning to feel a little bit of cool down in the evenings here in western North Carolina, the daytime temperatures are remaining firmly in the 80s and 90s with high humidity. So humid that the populations of all the hives are bearding with the exception of Hive Wales. The size of populations in all four of the established colonies is through the roof with brood production.
Naturally, it is the time that the queens are now producing winter bees, which differ from our summer populations. So, if you aren’t feeding your bees and giving them every chance to build up before winter, you need to get to that task immediately. And the fall flowers, like the goldenrod are in full bloom now.
My colonies have managed to eat their way through three 17 gallon mixing of sugar syrup. In fact, I just placed the fourth run of that in the colonies prior to leaving on my work trip to Arizona.
In the first two runs, the colonies went through the food in the top hive feeder in less than a day. Yesterday, when I opened to check on what I had placed on Sunday during my inspections, they had gone through about half of it in Hives Florence and Rome and less than half in Hives Aquitaine and Asgard. Hive Wales population was still too small to make much of a dent in the food placed. That will change with the four frames of brood and nurse bees added to the colony during this inspection.
Also, if you haven’t checked your colonies for Varroa Mites yet, you are now late in the game. Varroa Mite populations usually peak during the summer and you may well be in a downward spiral if you don’t act soon.
I will be performing sugar roll tests of all four of my established hives when I return from Arizona to see how the Apivar treatment is doing at knocking down mite levels. I believe between the Apivar and VSH queens in three of the four hives I may be in much better position than I was last year at this time. But, I started treatment in late July which I didn’t start until mid-August last year.
Hive Florence
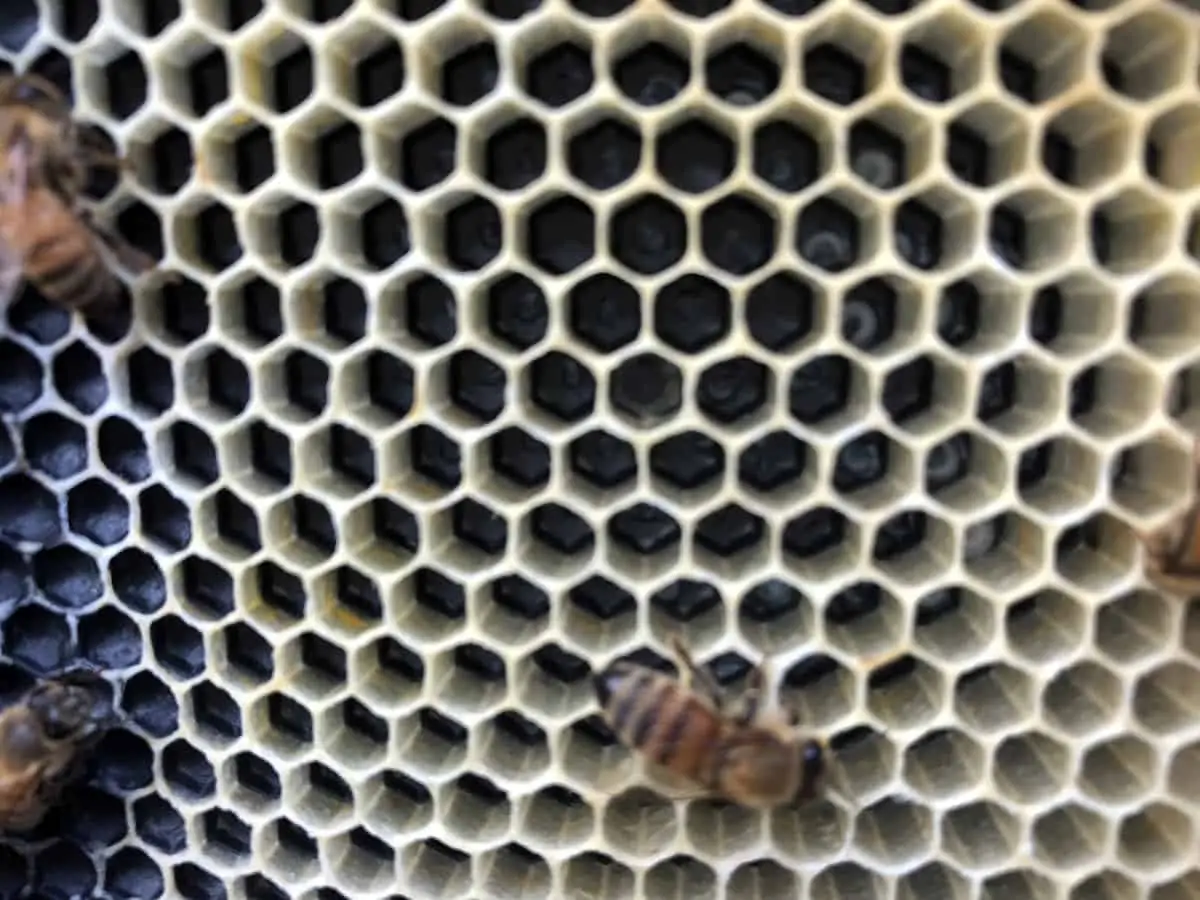
I was extremely curious to see how this Carniolan hive was doing since every evening I have seen masses of bees cooling the hive after the sun has begun to set. I knew the population was massive given the feedings and how quickly they were going through supplied sugar syrup. But, I have never seen populations like are present in this colony.
Now granted, I am just in my second year as a beekeeper but I had large populations in my colonies last year. This year has trumped that many times over. When I opened this colony, worker bees were hanging from the inner cover into the drained reservoirs of the top hive feeder. And, these workers had been busy attaching and building wax in the feeder reservoirs as well as building some actual comb between the edge of the top hive feeder attaching to the inner cover. So, even though the season is late, my workers are still producing wax (some of which is likely due to the feeding).
It was an impressive population just residing up in the top hive feeder. I shook the bees off the inner cover at the front of the hive and removed the top hive feeder. When I last inspected this colony, I found that there was still a significant amount of brood in the medium box and not enough honey stores for my liking. So, I was curious if my feeding had had the desired effects. In short, it has.
This colony has backfilled almost all the brood that has emerged from the medium box with the exception of about one frame that had a small section of worker brood yet to emerge.
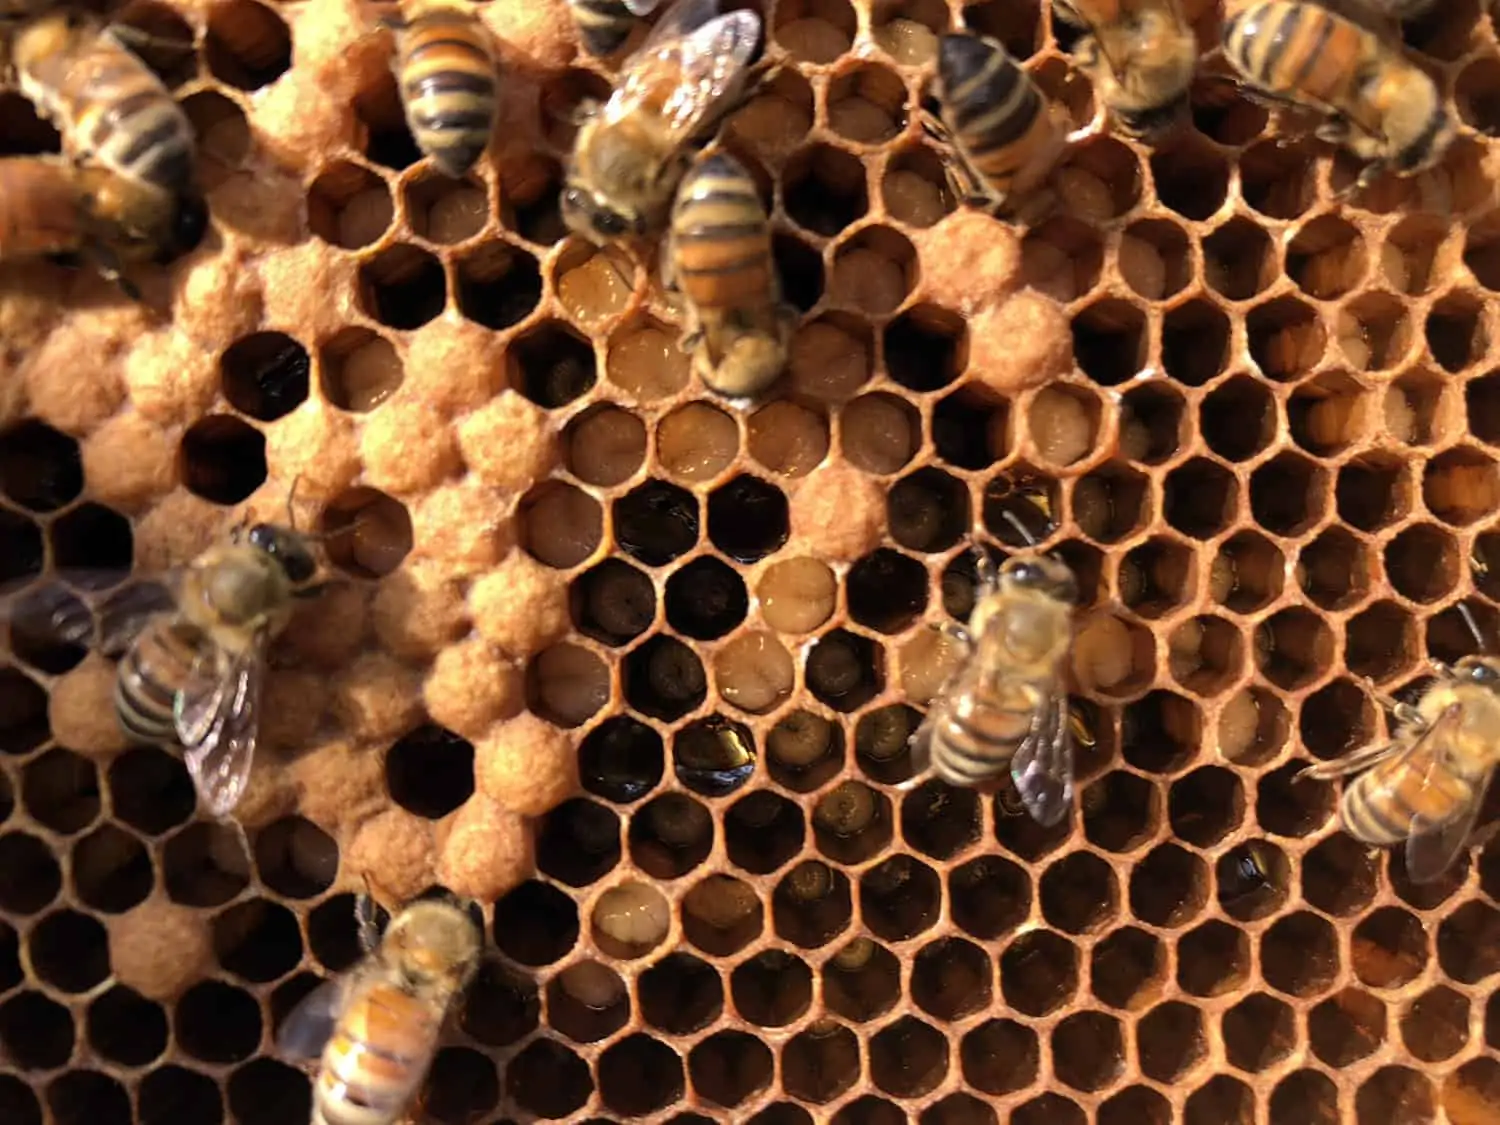
Looking over the honey stores in the medium box, I am pleased at where this colony stands at this point in the summer. They are well on their way to having a completed honey dome in the medium box of the colony. Of course, along with that honey dome, the workers had built significant burr comb attaching the medium frames to the upper brood box’s frames. It was truly a mess to clean out and made this inspection take a lot longer than it should have. And as is normal this time of year, the bees are getting a little less docile as they are now protecting significant honey stores.
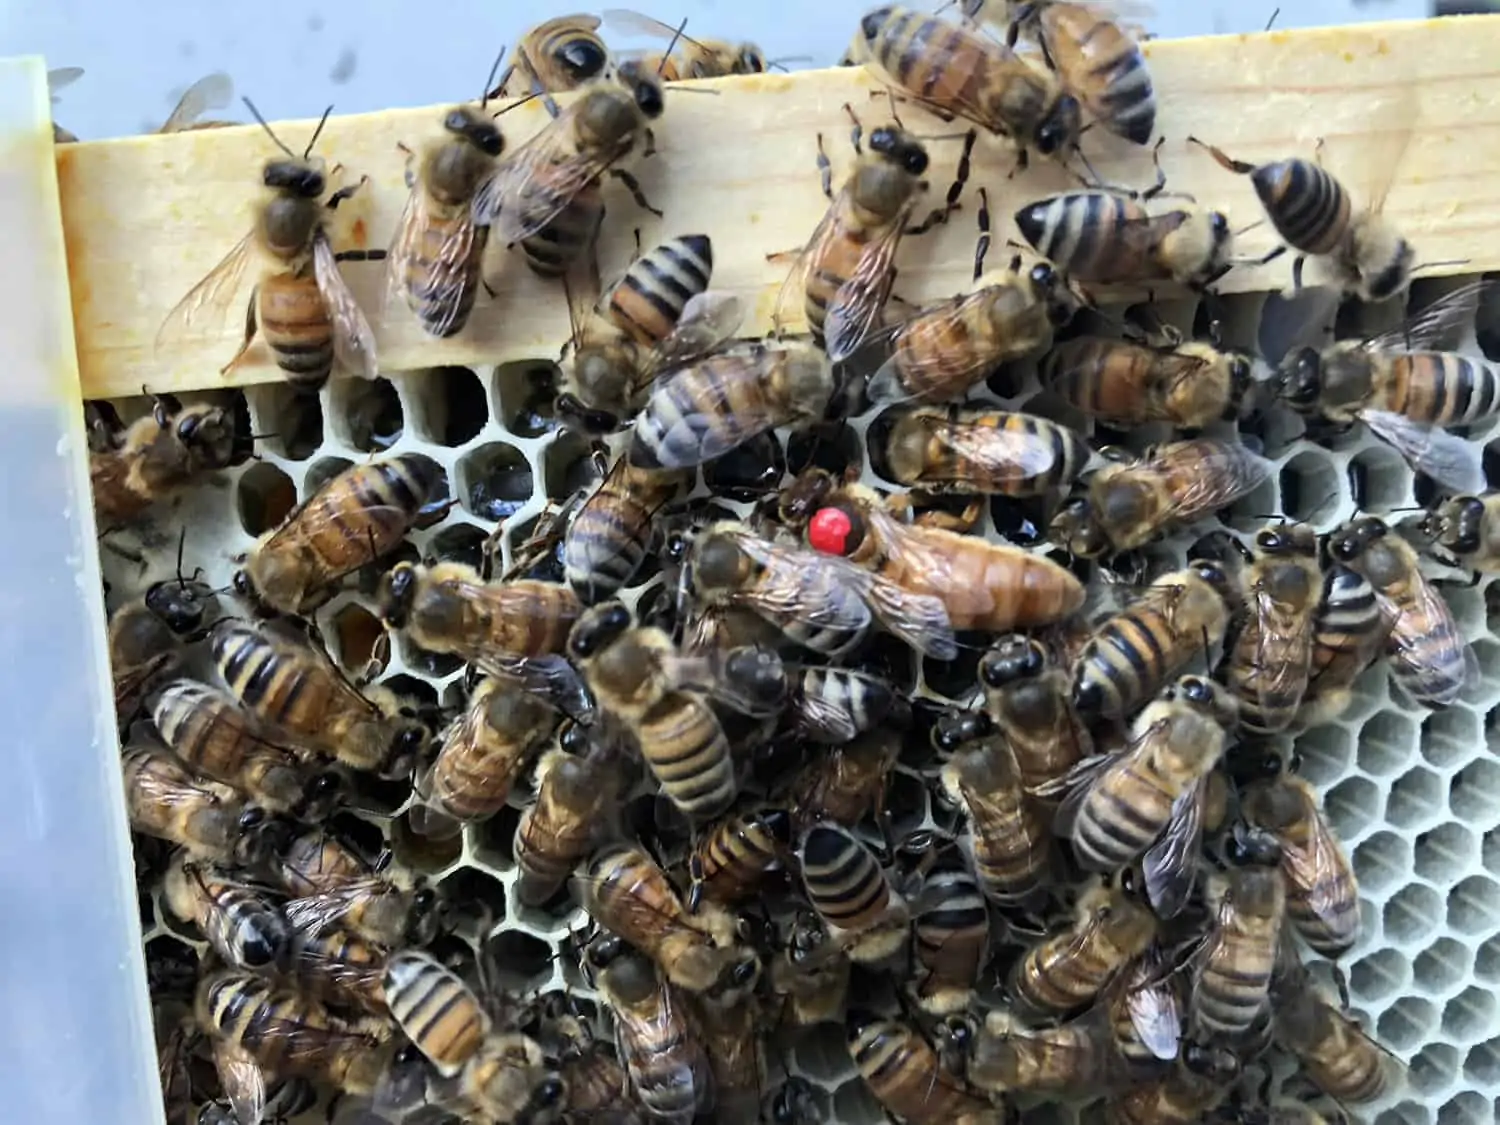
Having completed my work with the medium box, I set it aside and began my inspection of the upper brood box. What I found as I started to inspect was workers three and four deep on the frames. It left me wondering if I would ever be able to see the queen, Beatrice II, in the colony.
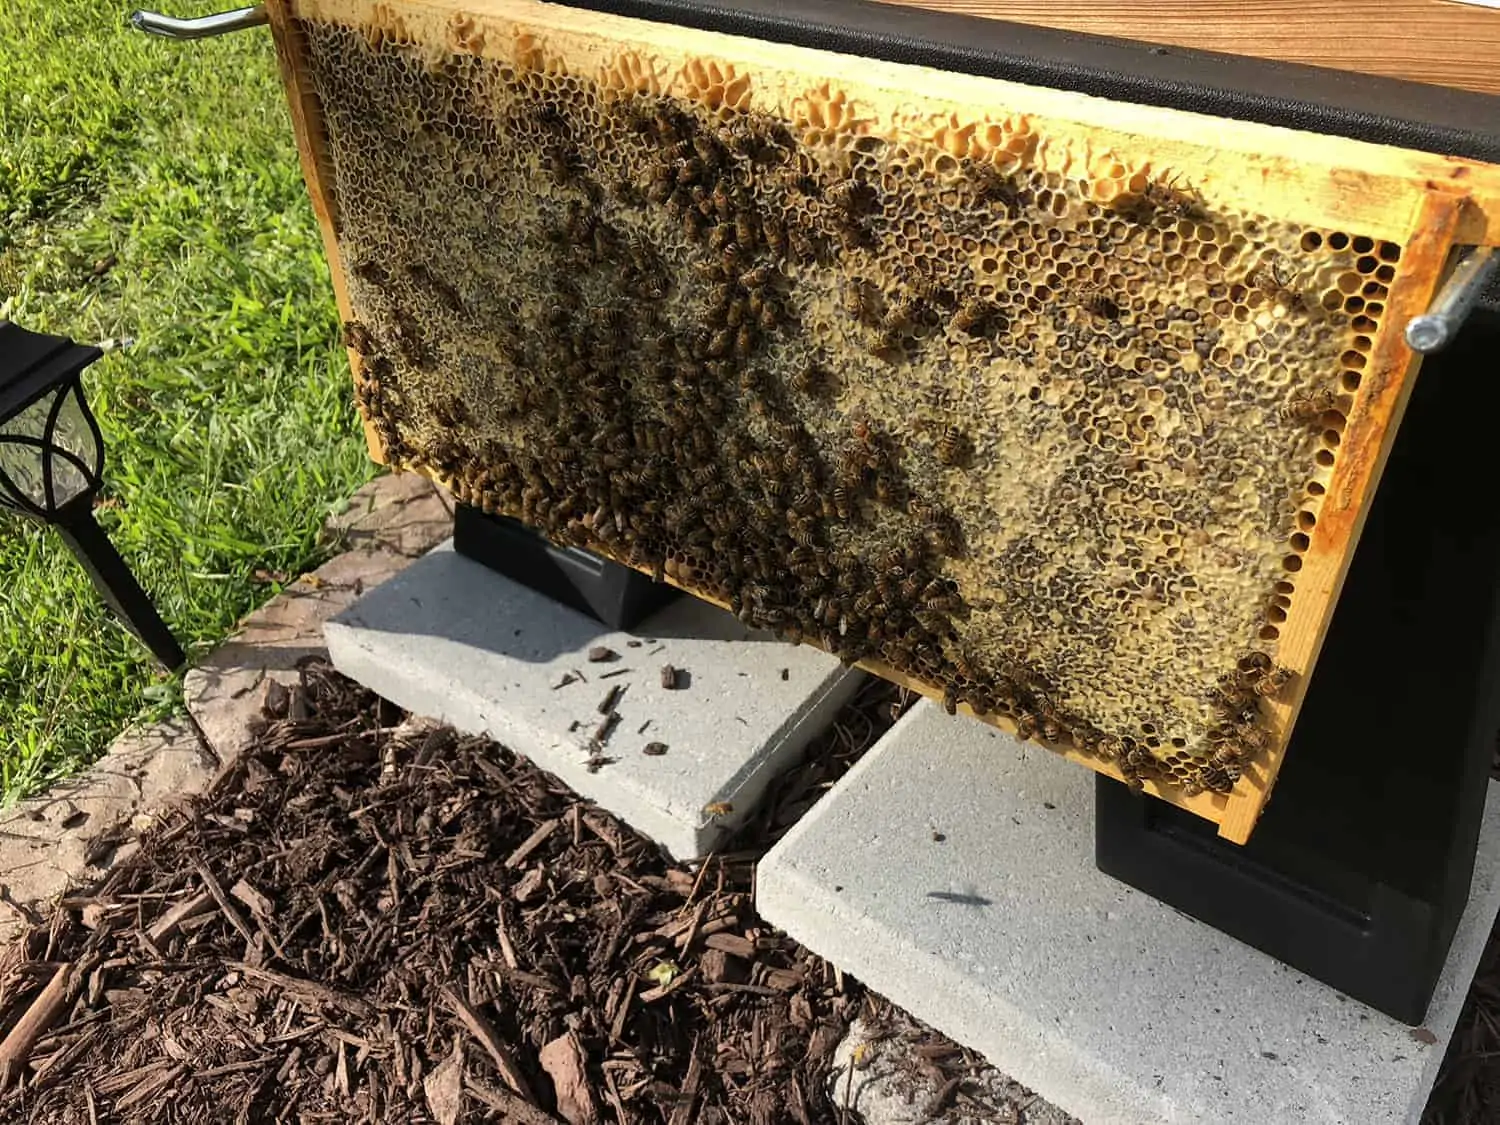
My plan was to alleviate some of the population explosion by taking four frames of mostly capped brood with accompanying nurse bees into Hive Wales. So, I was paying close attention to frames that would provide this ratio. I found four very full frames that provided what I needed to give Hive Wales a boost.
Additionally, there were a couple of frames of honey stored in the upper brood box. But, Beatrice remained elusive. I knew she was marked so I had to keep looking to find her. Additionally, these workers had industriously put some small amounts of burr comb.
Having set aside four frames for Hive Wales, I moved on to check the bottom brood box as I needed to ensure that Beatrice II wasn’t on one of the frames I had set aside. Yes, that’s how many workers I was dealing with! But, you can’t install frames in another hive without first finding that elusive queen!
In the lower brood box, I found a pretty significant amount of brood and also plenty of pollen and honey stores. And around the sixth frame into the lower brood box, I found the queen. Beatrice was wandering around checking for empty cells to lay more eggs. She really is a beautiful chocolate brown and at this point I was too concerned with finishing with Hive Florence so I could install those brood frames so I didn’t get a picture. I will try to get a picture for you soon.
After finding her, I reassembled the hive (and opened Hive Wales to remove four undrawn frames to fill the empty slots from the capped brood frames removed from Hive Florence. Before completely closing Hive Florence I installed the replacement empty frames and then refilled the top hive feeder before closing up the colony..
Hive Wales
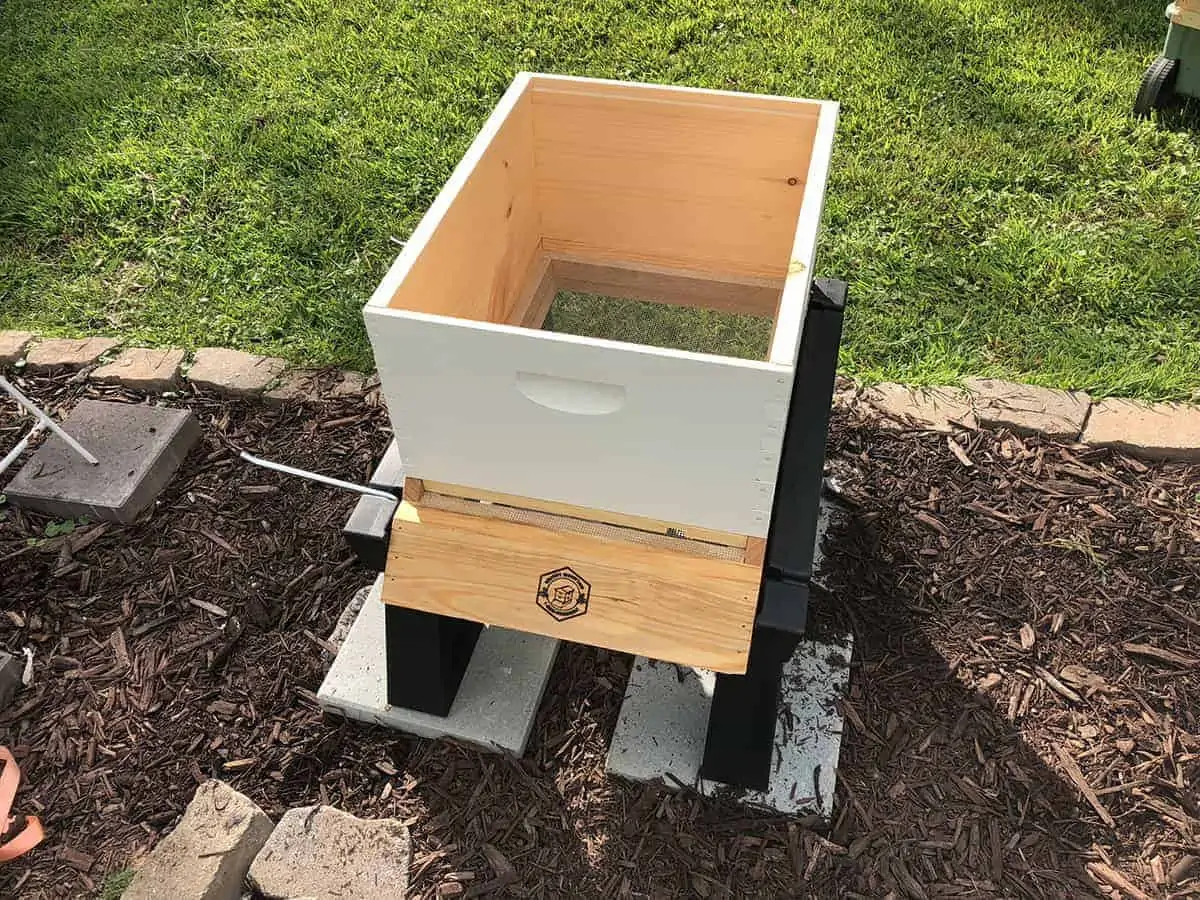
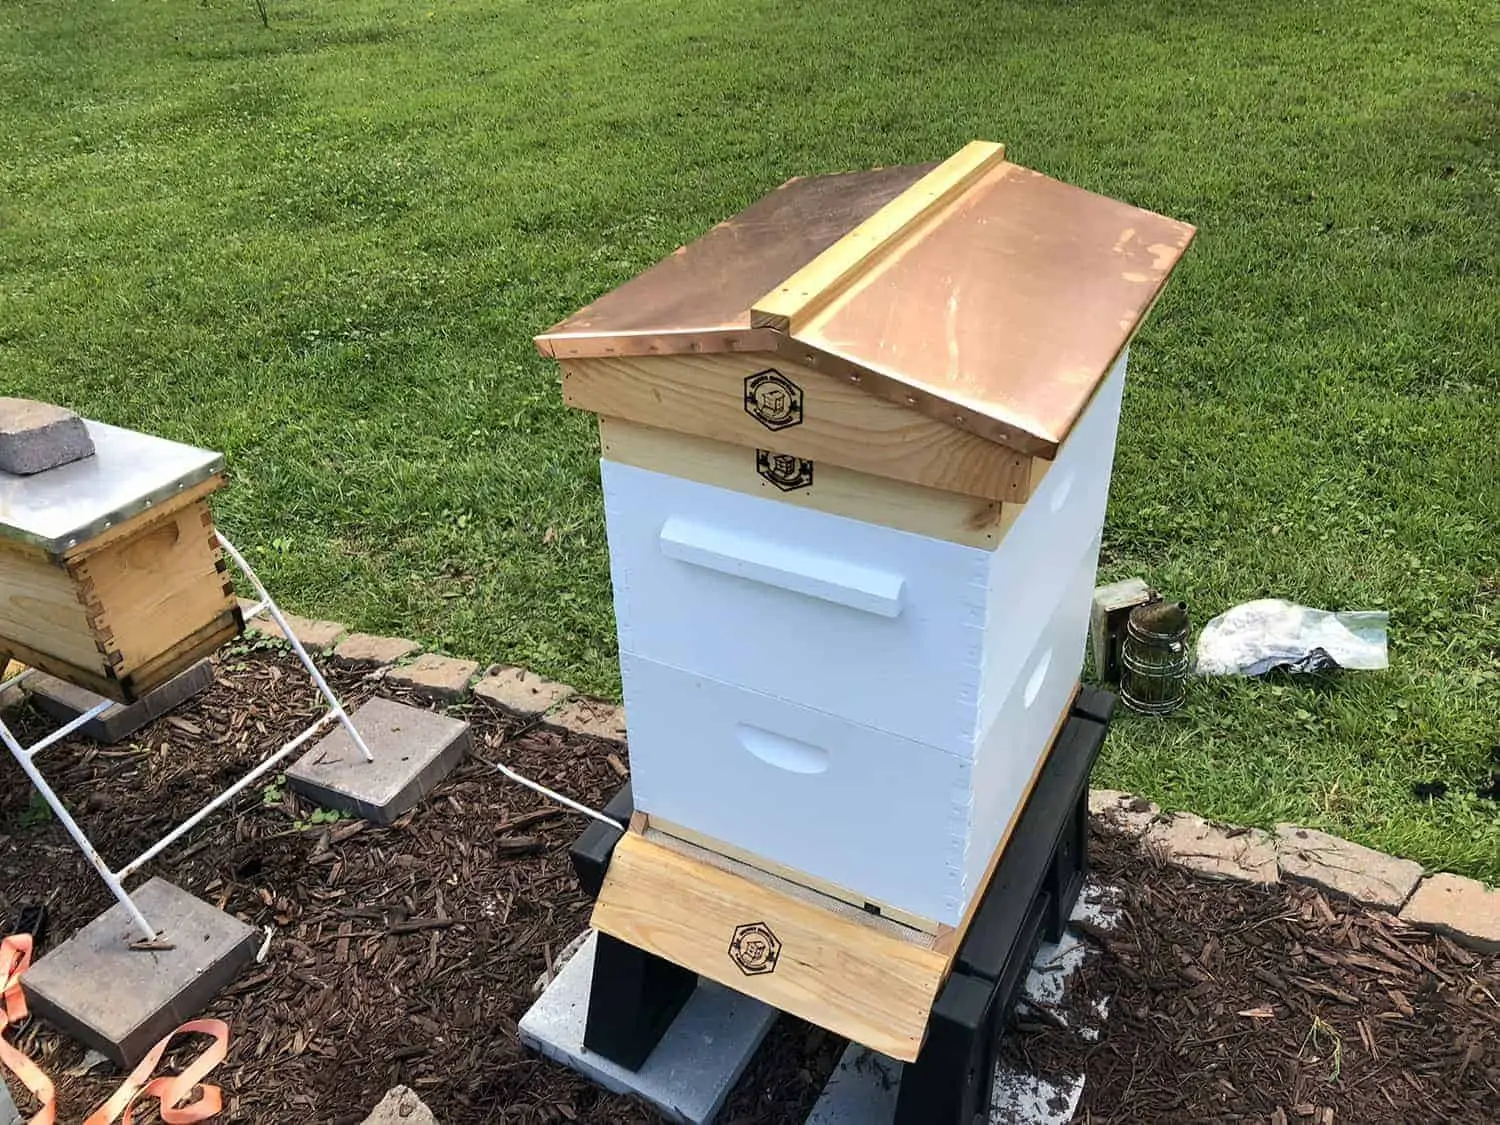
Before I could install Hive Wales, I needed to take time to seat the new hive and ready it for its new occupants. So, the first choice was to determine where to position the colony in my apiary. I chose to position it parallel to Hive Asgard and in between Hives Rome and Aquitaine. That would give me a view of the entrance from the house. So, I need to establish blocks as the base for the hive stand. And of course, they need to be near level on our mountain hills.
Working with pebbles and a level, I managed to get them near level. With that task accomplished, I positioned the Ultimate Hive Stand and checked it to see that everyone was still near level (and it was!).
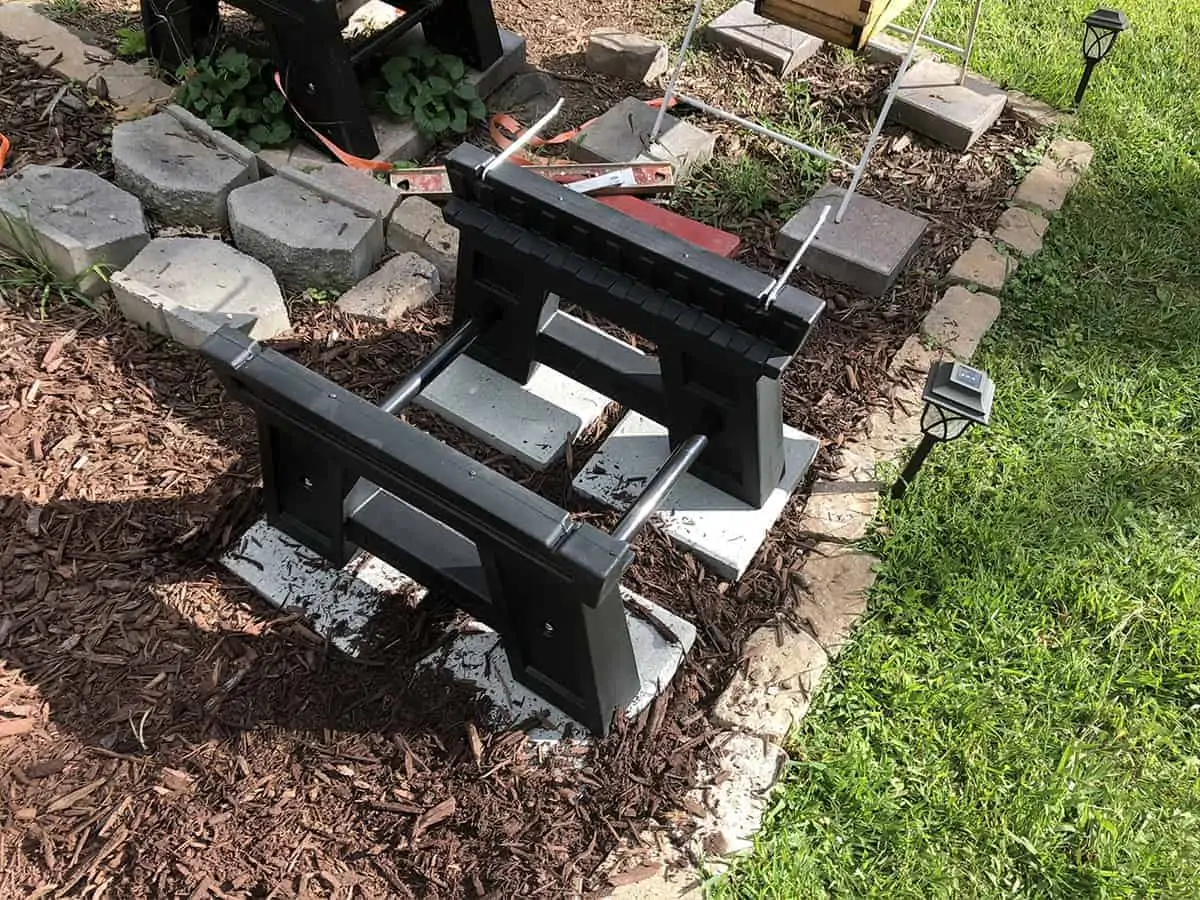
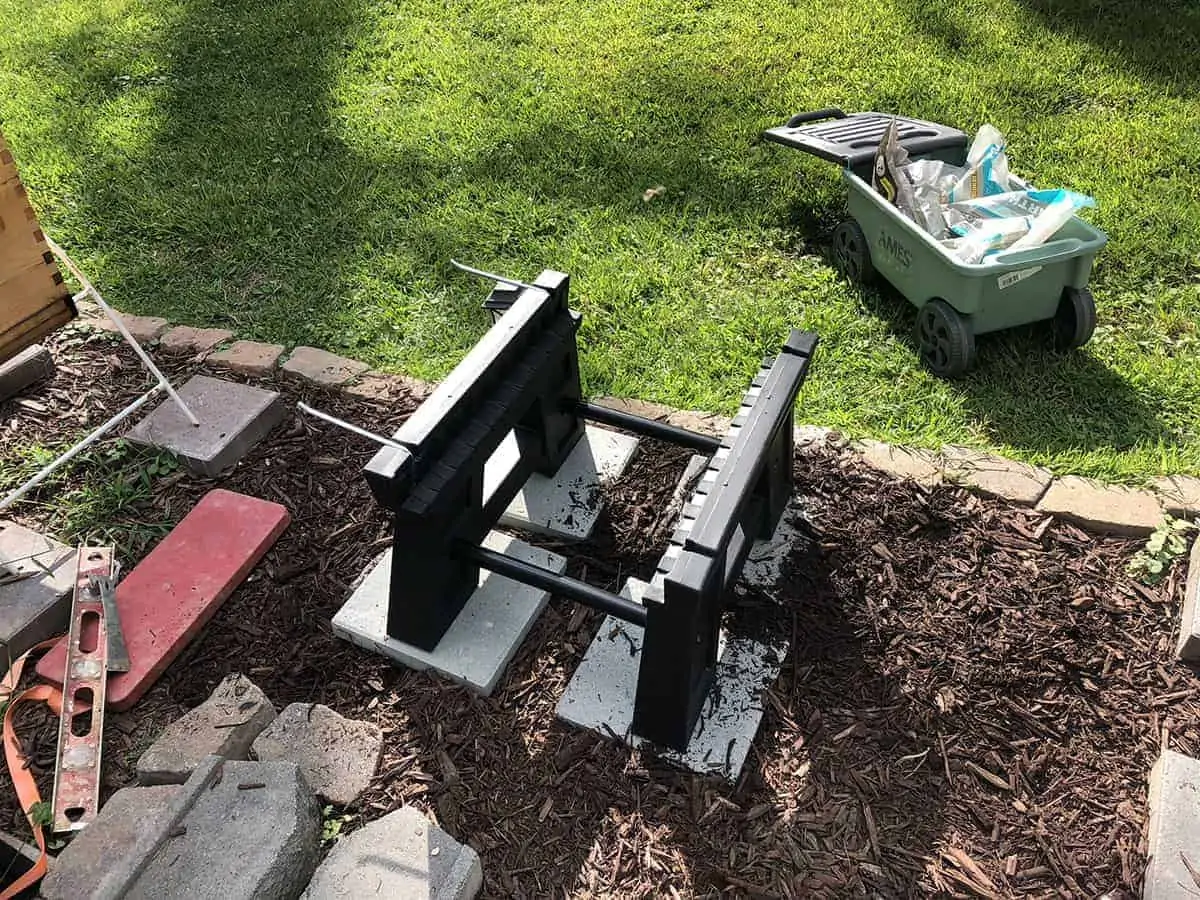
With the Ultimate Hive Stand in place, I was ready to position the Wooden Hive Stand that would serve as the base of the hive boxes. I placed it on the Ultimate Hive Stand and used the supplied screws to secure it to the Ultimate Hive Stand.

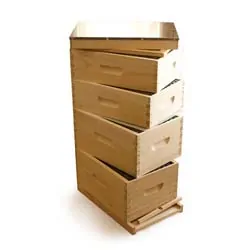
With wooden hive stand in place, it was time to place the bottom brood box where the frames from the nuc would form the foundation of the new colony. I placed the regular deep brood box because I wanted the observation hive box up higher so I could periodically follow the progress of the colony in establishing a second brood box.
Hive Wales spent much of the summer as a queenless nuc after unceasing inclement weather caused all attempts to raise a queen failed. I installed the queen I had purchased from California and she has performed incredibly well. When I opened the colony and removed the top hive feeder, I wondered what I was going to find on the frames in the upper deep nuc box.
The first frame was a heavy honey frame which is important for this colony prepping for winter. Their honey stores need lots of work and I will likely have to feed this colony with fondant and winter patties to get them through winter.
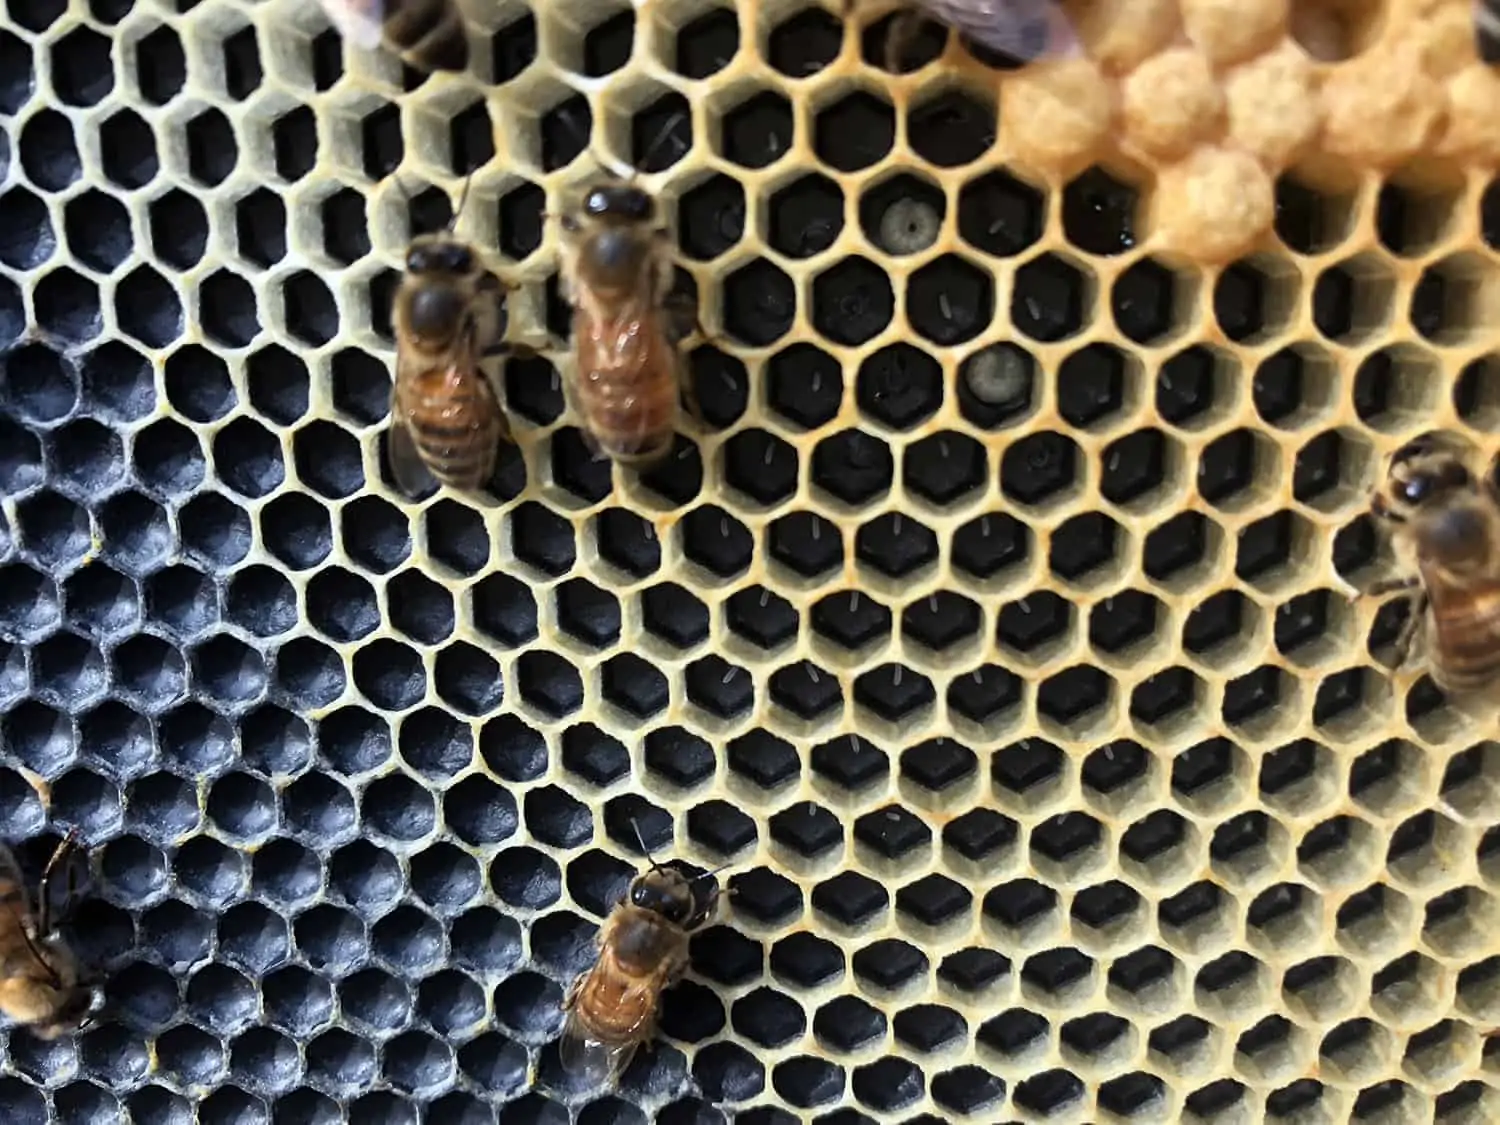
The second frame was a brood frame containing Ceridwen’s first capped brood since she was installed as the queen of this new colony. She is producing a really solid brood pattern with many if not most of those open brood cells containing eggs and young larvae. Needless to say, this was a site for sore eyes in Hive Wales!
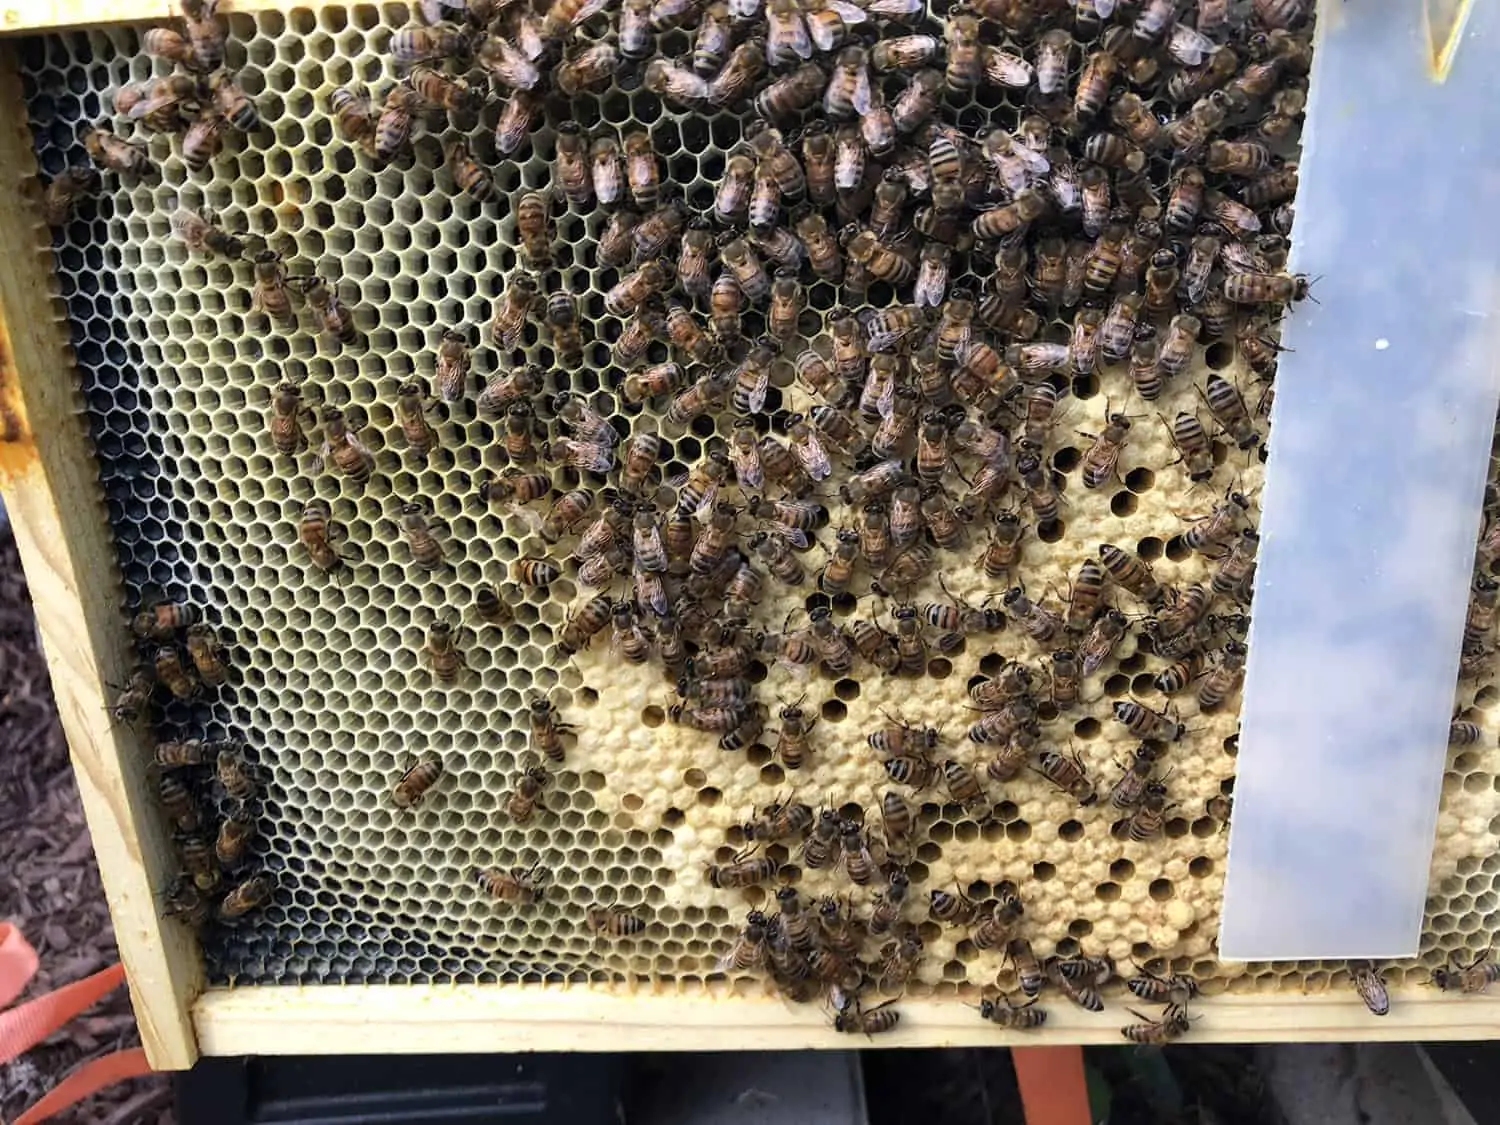
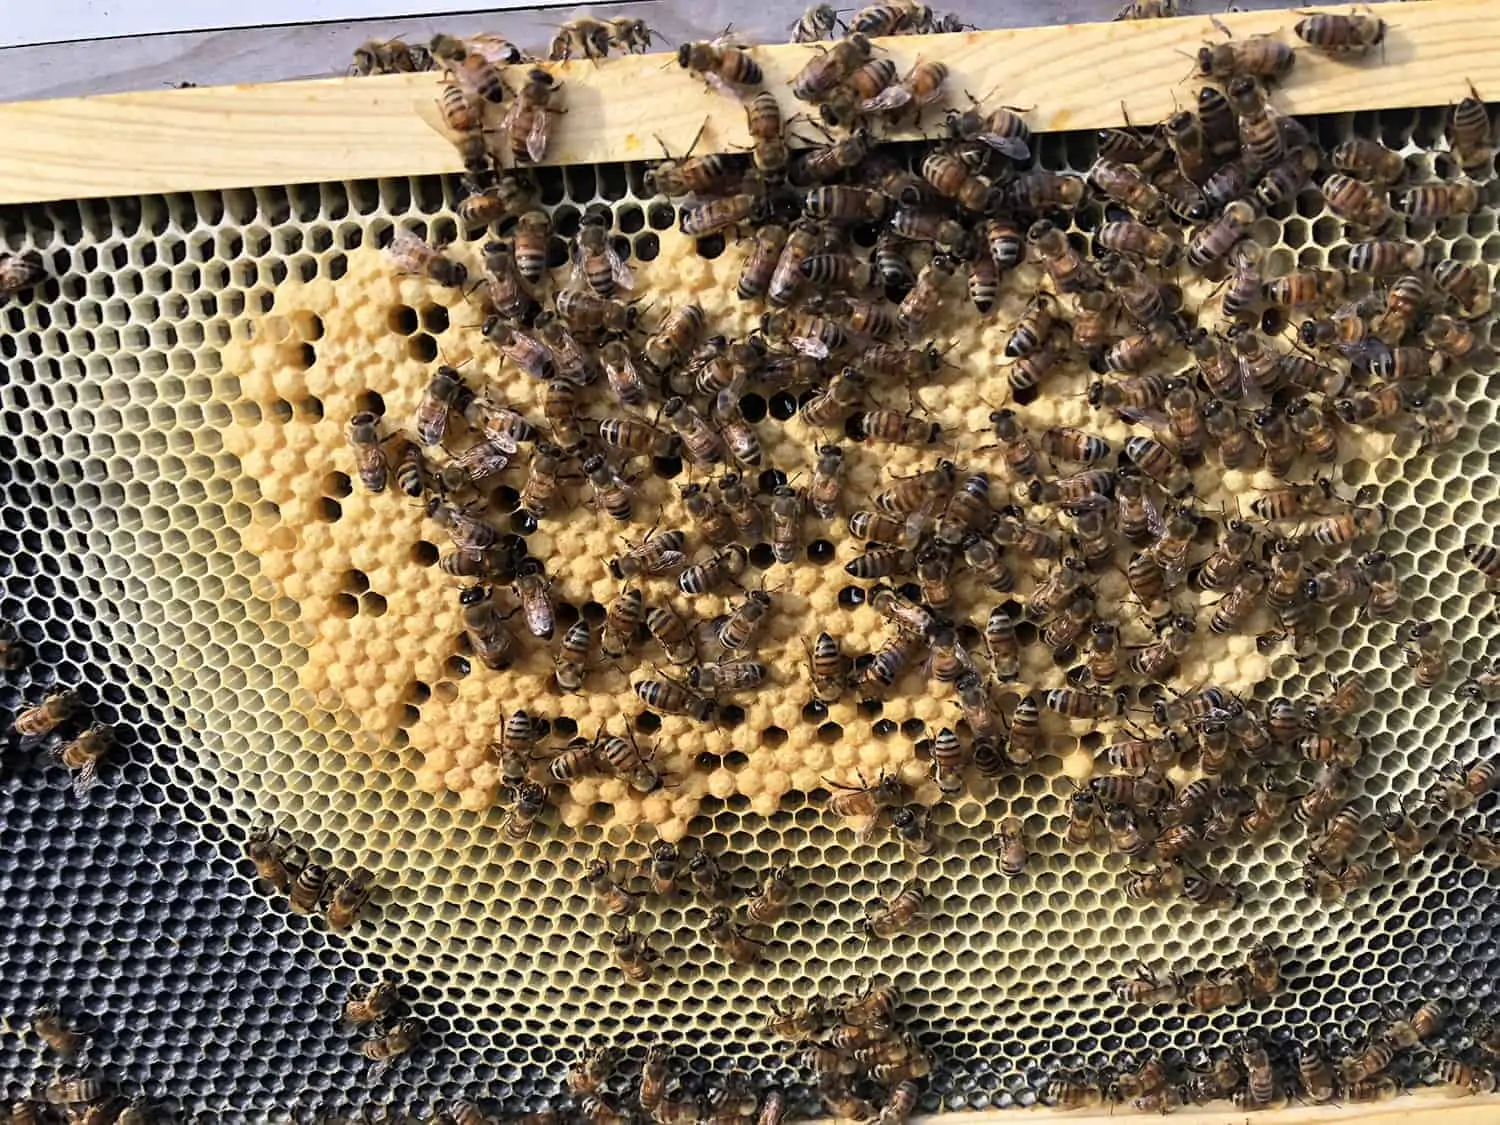
As I went through the remaining four frames in the upper nuc box, I found more and more frames with eggs, larvae and capped brood. All of these discoveries were incredibly encouraging and illustrate what a healthy queen can do in just a short period of time. I have included some pictures of eggs and larvae to illustrate what is developing in Hive Wales.
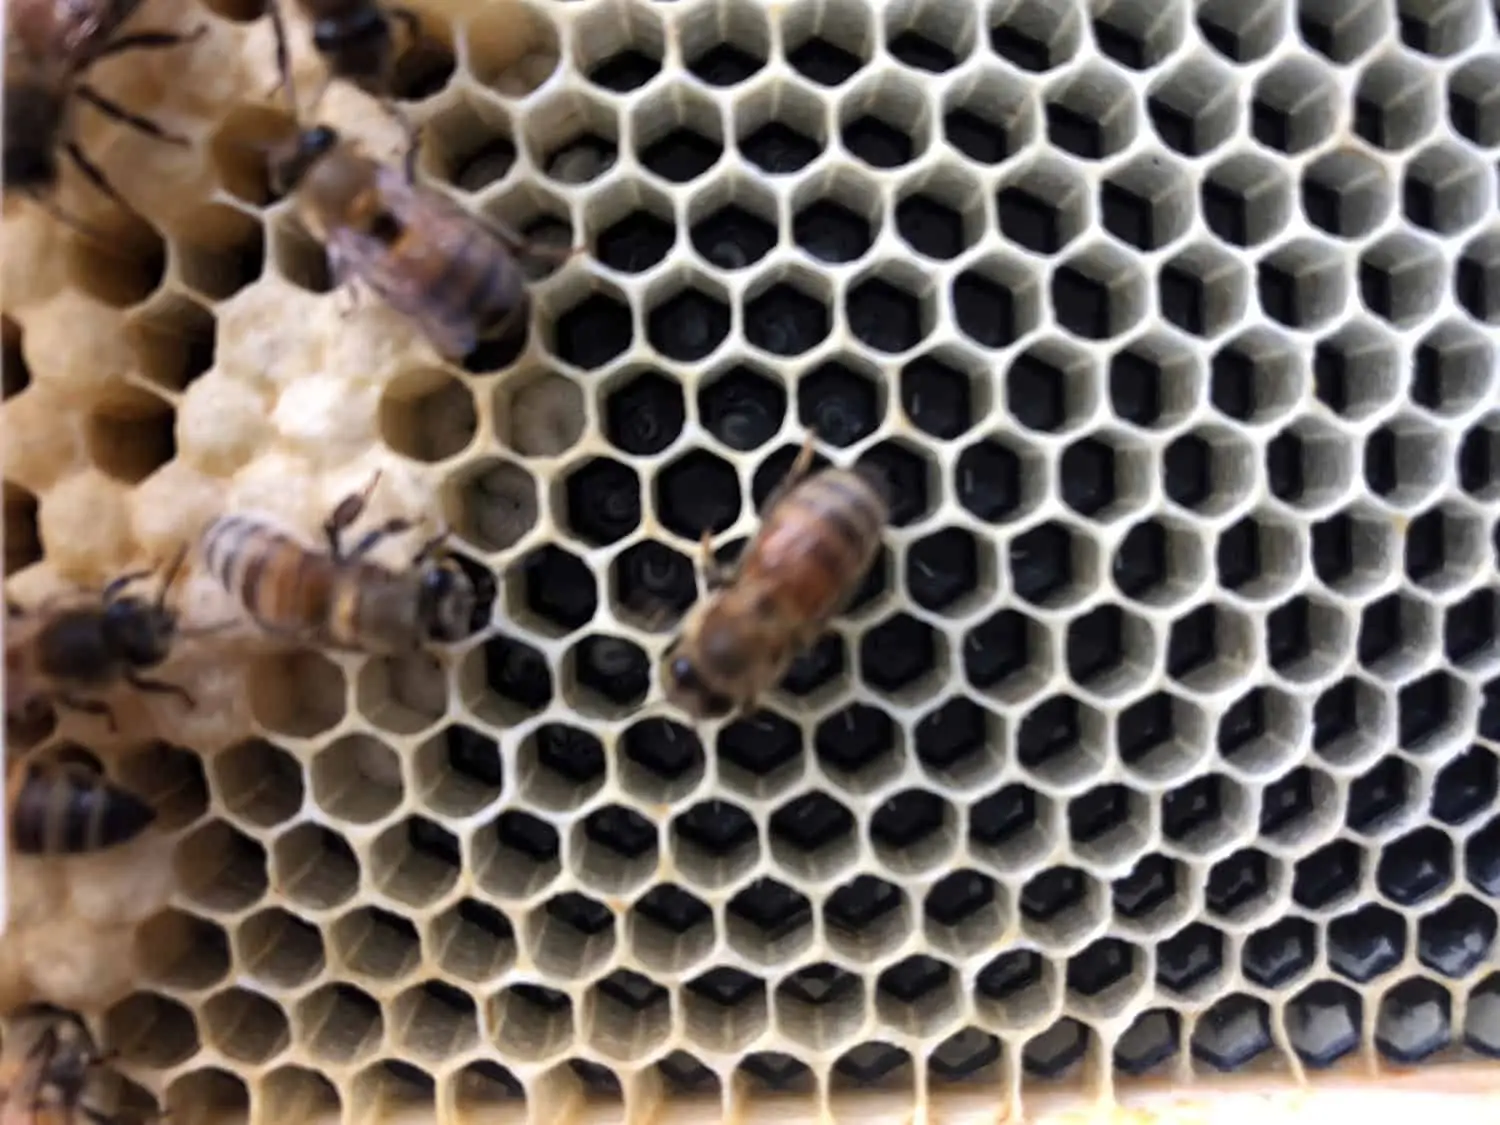
I found Ceridwen happily wondering around on one of these brood frames and she remains a very impressive example of a Cordovan Italian queen.
The four frames with a combination of capped brood, eggs, larvae, and Ceridwen made up the core and center of the deep brood box for Hive Wales.
The bottom nuc box contained frames more heavily filled with pollen and honey stores but there were areas where Ceridwen found an empty spot and placed an egg. Now that’s a determined queen. These frames went around the central four frames placed to make the central brood core in the lower deep box. The lower box contains all of the Apivar strips which will be rebalanced at next week’s inspection.
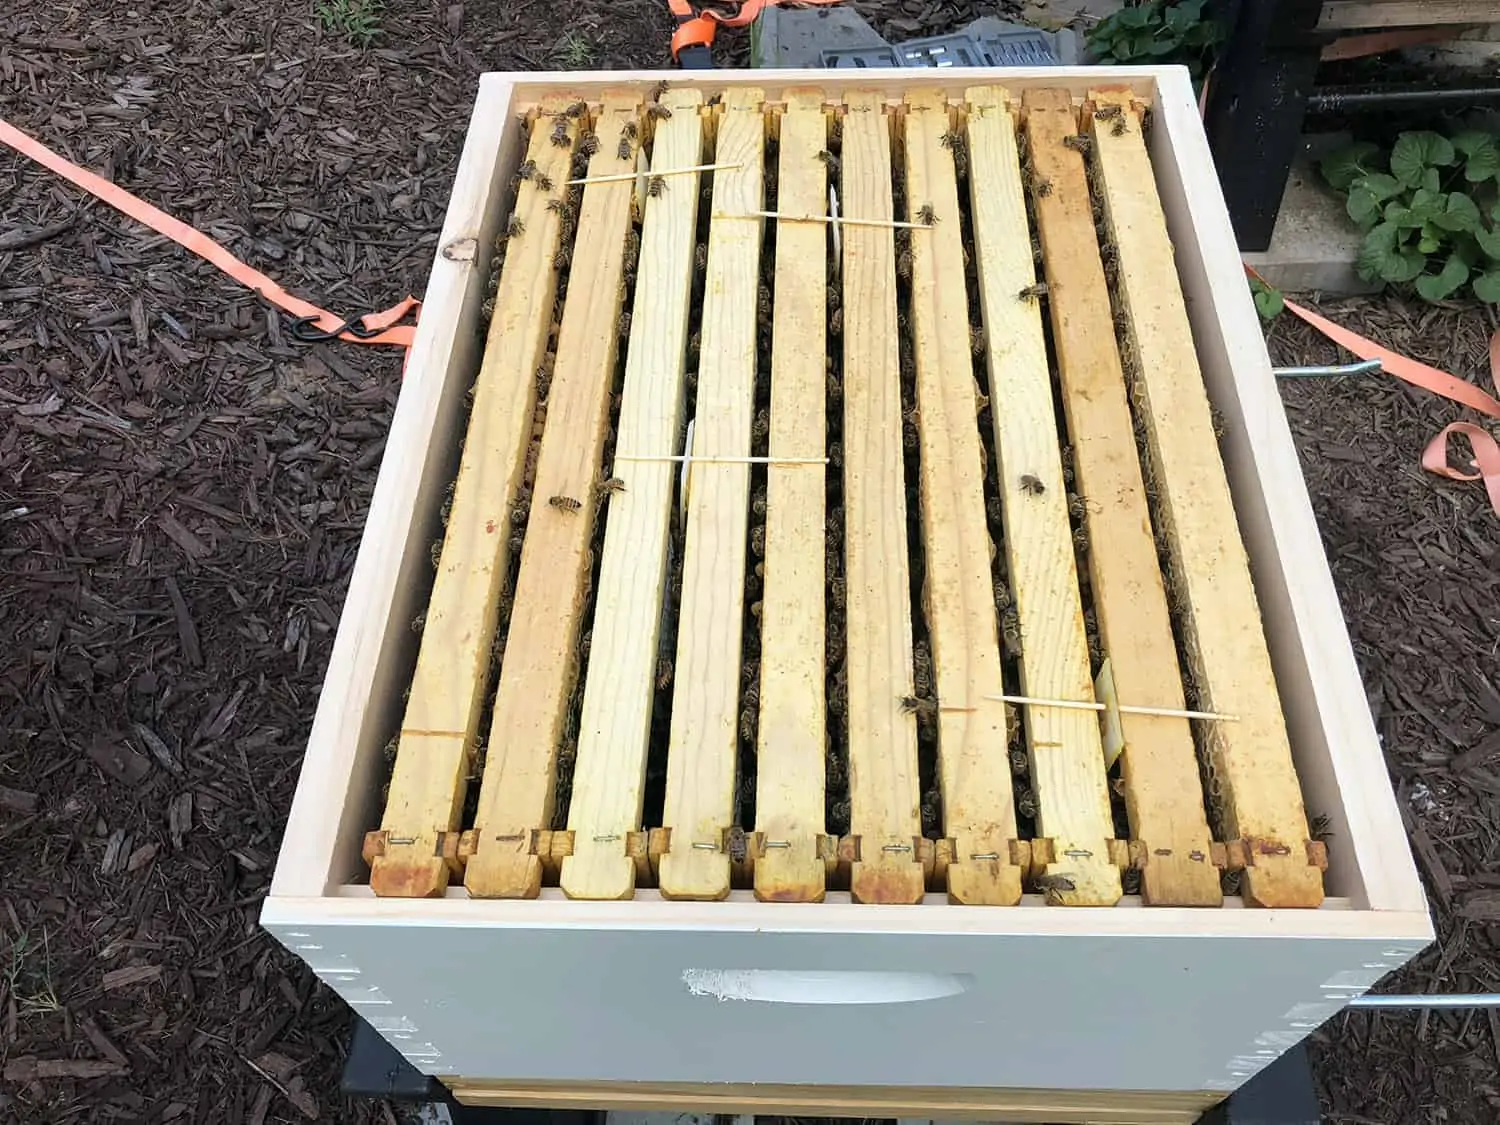
With the lower brood box established, I was ready to place the almost completely capped brood on the four frames removed from Hive Florence. These frames were also heavily populated with nurse bees. It was clear installing the ten frames in the lower brood box that the population needed a quick jolt and boost. So Hive Florence was used to boost the population in this colony and really kick things off as quickly as possible. The four frames of brood made up the center four frames of the observation deep box. The remaining six frames were empty frames with no drawn comb.
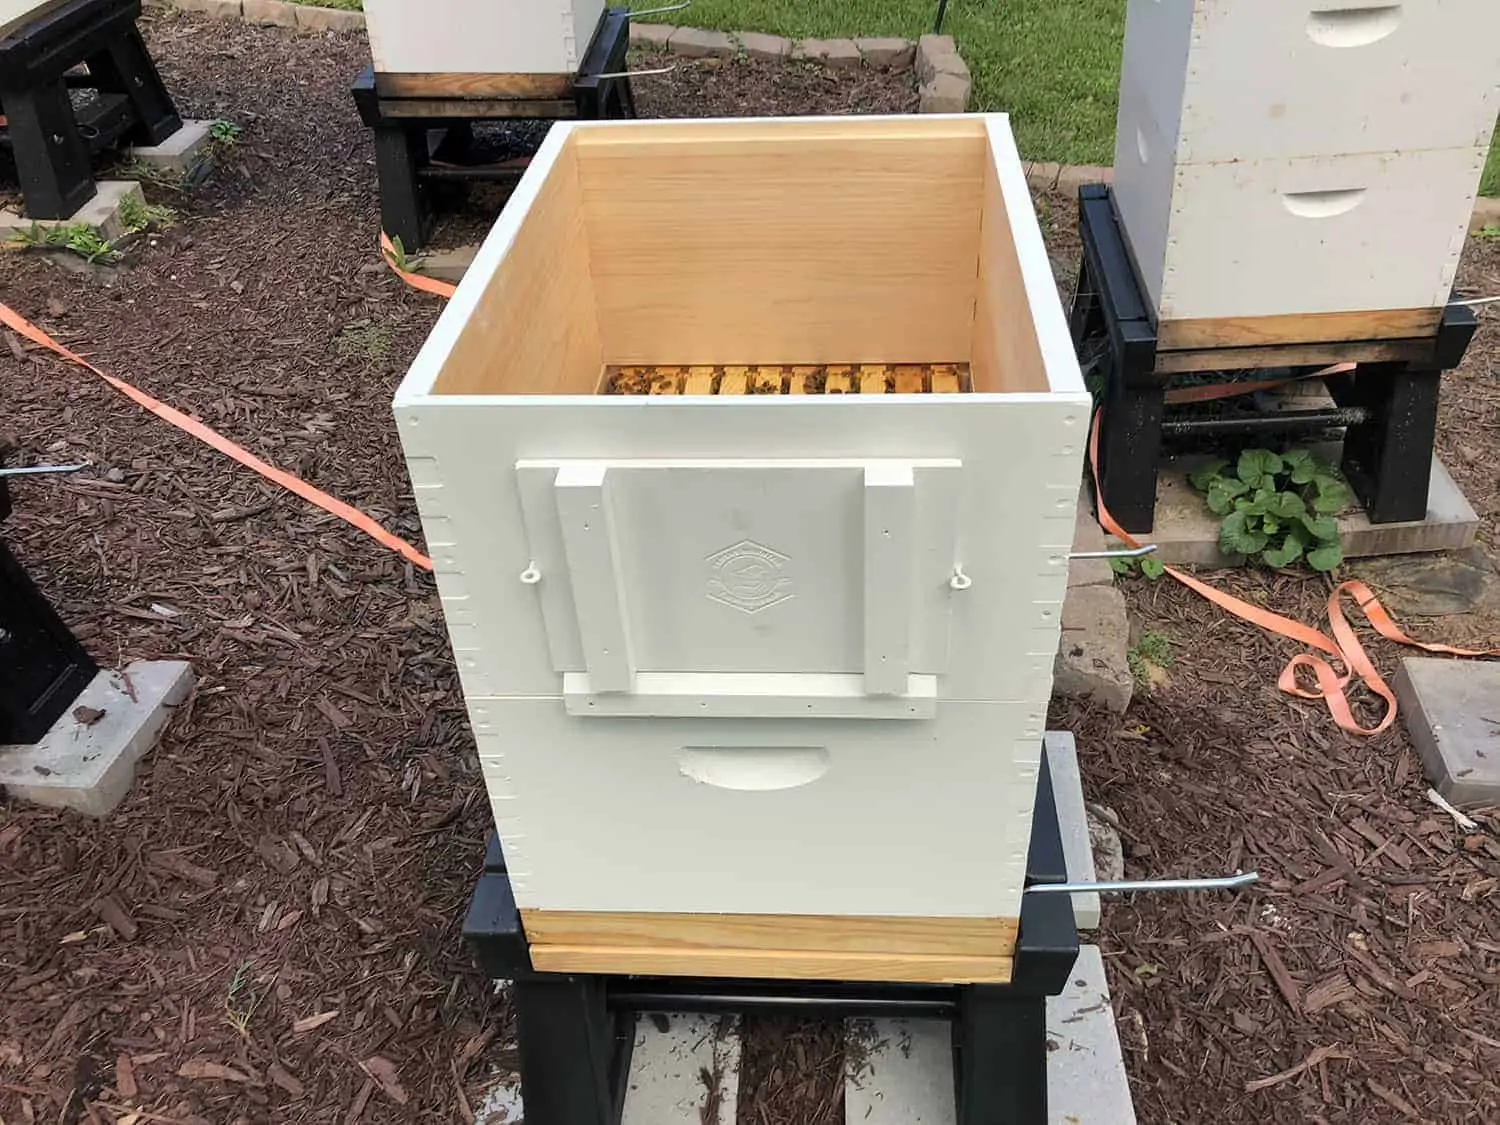
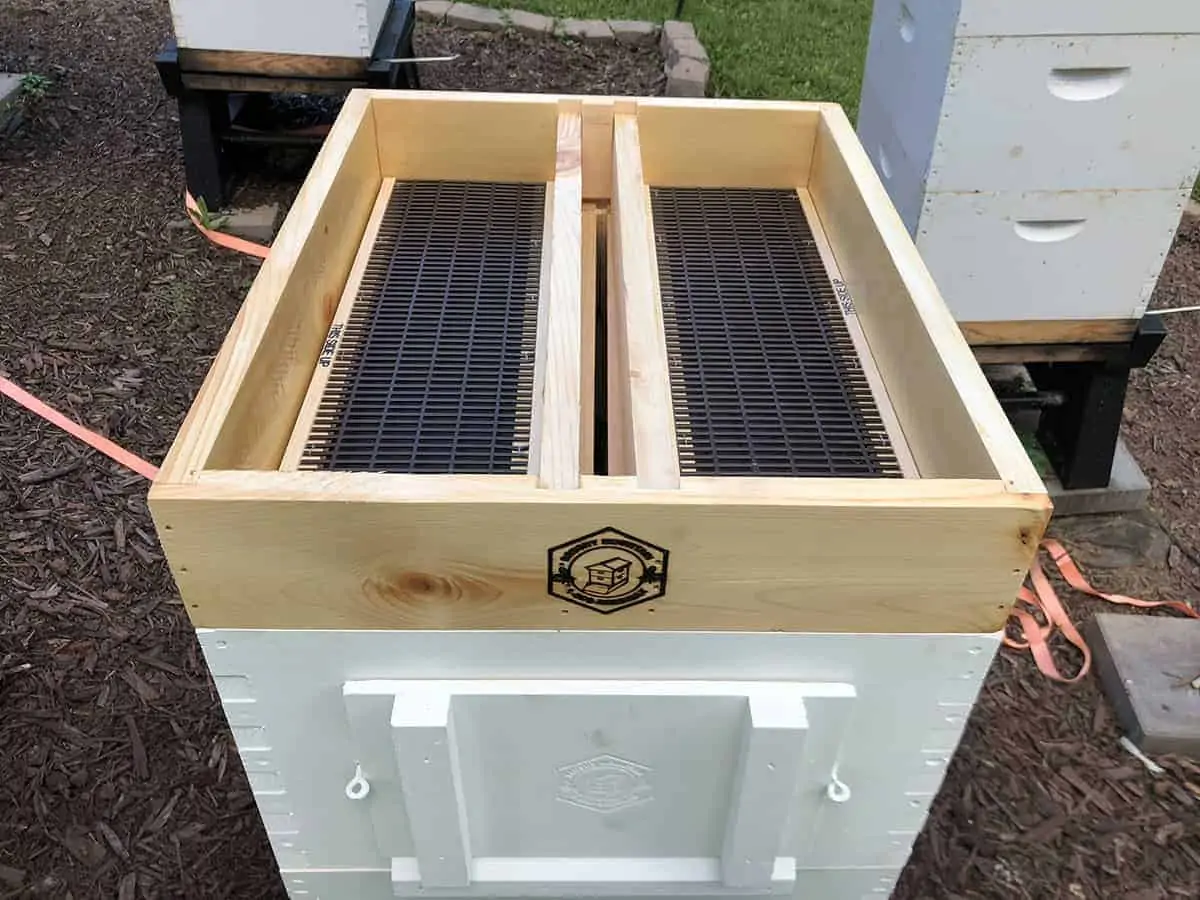
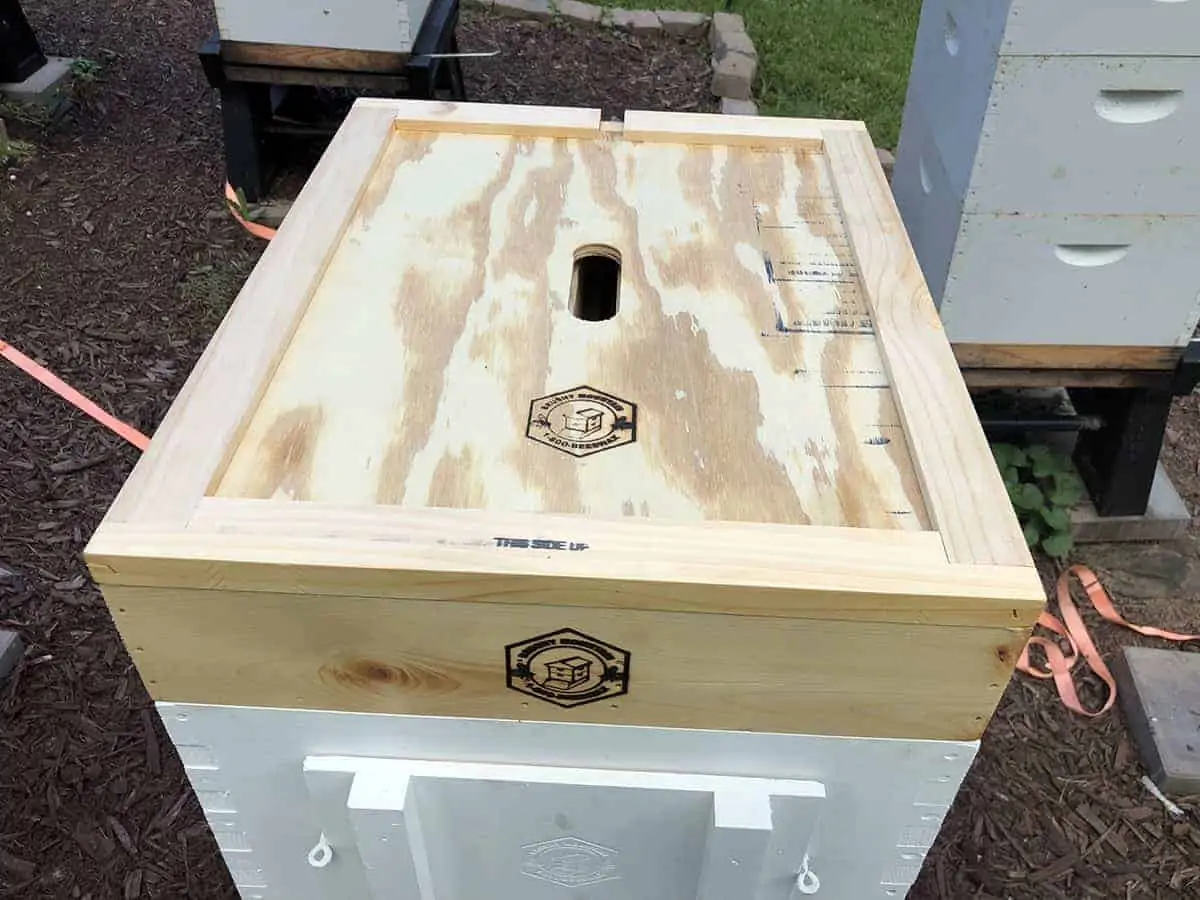
It was now time to place the top hive feeder and fill it up. And after placing the top hive feeder, it was time to put both the inner cover and the outer cover in place. It is now up to the bees to work their magic.
Hopefully, the colony will start to take off in a few weeks and will do most of the work towards establishing itself for winter.
Coming Soon
I am hard at work locating all the resources I will need to produce my series on honeybee anatomy and pheromones. It may take me a few more weeks to get everything ready but it will make a great off-season series for all of us, me included to learn more in depth about these wonderful creatures.
Until next time, Happy Beekeeping!