Preparation for winter in my apiary, in Maine (where we indeed have LONG winters!), begins as soon as I harvest honey or in early August if I don’t harvest. I look at several aspects of hive health, food stores, bee health, site preparation, and equipment setup.
Equipment
Let’s look at equipment first, since that’s pretty straightforward. I usually have entrance reducers on the hives by this time or, if not, robbing screens. I want to reduce the area guard bees have to cover and eliminate the possibility of mice entering the hive. As soon as the nights start getting cold, the mice will be looking for a warm spot and I don’t want them in my hives or my equipment.
I keep a gauntlet of mouse traps around my unused equipment to keep them out of there as well. If I have robbing screens on, I replace them with entrance reducers by the end of September. I use the standard, wooden reducers, but use the large opening as I have installed metal, flip-down screens with a few holes to allow a few bees to come and go at any one time.
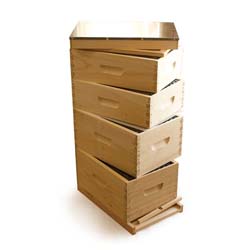
Since I’ve pulled the honey supers off by now, I usually take this time to start maintenance on my wooden ware. I scrape, prime, and paint my boxes, feeders, and anything that has been used during the spring/summer cycle so that it’s ready for next year.
I usually lose a hive or so during the summer or I transfer nucs to a full hive, so I am able to paint all of the hive parts for that particular set of equipment. All of my hives are color-coded. I like the variety of colors and it makes it easy to keep track of each set.
Feeding
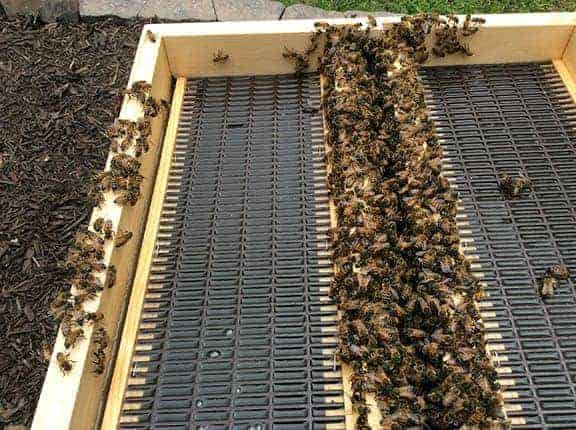
After I pull the honey off, I install liquid feeders, using a 2:1 sugar-to-water mix with Honey-B-Healthy as a feeding supplement. I use a shallow box that has a slot running front to back down the middle. Each side contains a plastic float, so the bees land on the float and eat. These work well for me.
I know there are many types of liquid feeders and other beekeepers have different preferences. If there isn’t much food out there for the bees (this year there was here, but almost every other year it’s usually pretty grim at this time of year) they will take about a gallon of the mix a week. I mix five gallons at a time and heat it with a turkey boiler gas ring to make the process go quickly. I will feed until the bees quit taking it, usually sometime in October. My goal is to get as much food in the brood supers as possible.
Treating for Mites
After the honey I will consume or give away is safely spun off, I immediately start treating for mites. I usually start with Thymol which takes about a month to get through the whole cycle twice. I installed a spacer above the top brood box and set the Thymol packets in that space so that it could evaporate and hopefully kill most of the mites.
I follow this with HopGuard II to have a mechanical vector for mite removal as well as a chemical. I do one final mite treatment with Oxalic Acid on approximately Dec 1st. I wait until the temperature is above 40 degrees so the bees are a bit more scattered in the hive. If they are balled up with really cold weather, the treatment isn’t as effective.
I use 1/2 tsp of oxalic acid (1/4 tsp for each brood box) and vaporize it using heat created with a car battery and a vaporizer for about 2 1/2 minutes. Then I close up the hive completely with rags for ten minutes. This works best if I just run a stopwatch on my phone and have a helper write down the start and stop times for each hive so I can just keep going.
The vapor is pretty irritating so a paint mask (with canisters for volatiles) is a must. I don’t usually wear a bee suit during this operation as the bees are generally inside and I’m not banging on the hive, just fuming it. With this three-pronged attack on the mites, I tend to reduce the mite load to a level that won’t get the bees down over winter.
Hive Covers and Ties
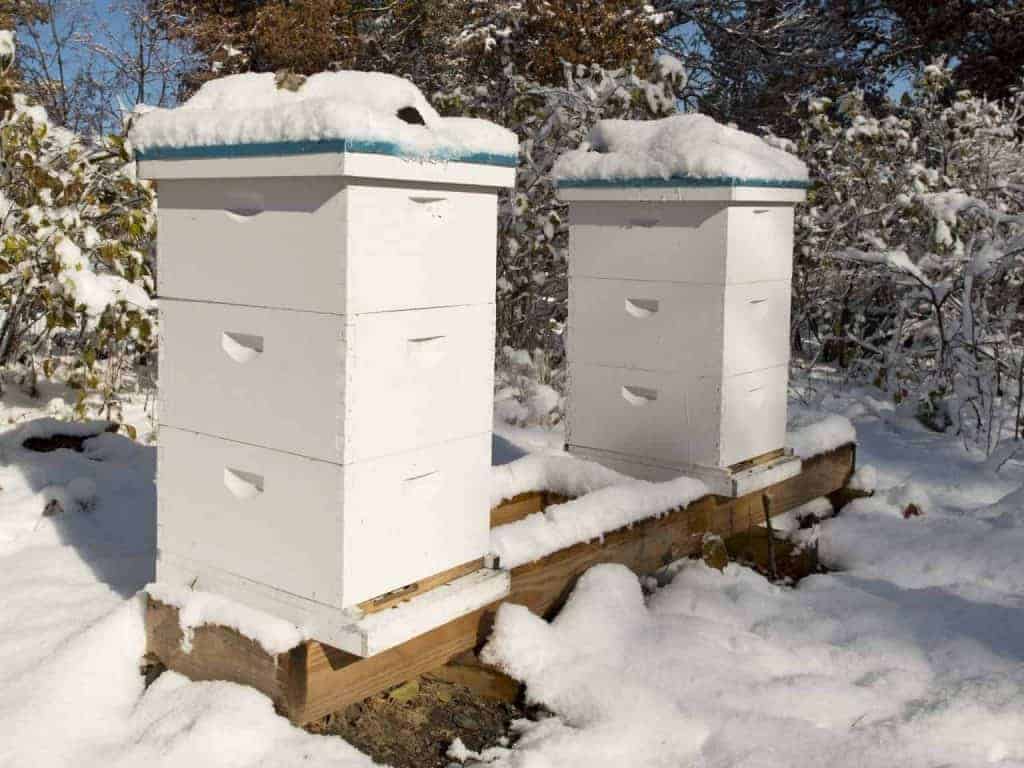
We start to get cold weather in November in Maine, so I wrap my hives with black, insulated jackets. Some are a sleeve that slips over the hives, while others are wrapped and attached with Velcro. I secure these with straps so that the wind won’t take them away. I also make sure my tie-downs are tight and in place.
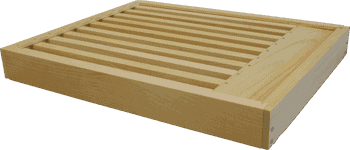
We have bears here, so I have my hives tied down all year. But in the absence of bears, I used to only tie them down in winter to avoid winter storm damage. I use slatted racks which offer some space below the brood boxes to separate the bees a little more from the cold near the entrance. In the summer months, these provide a place for bees so there is just more space in the hive.
I have screened bottom boards and I insert plastic liners below these to limit the amount of wind that can whip up under the hive.
Moisture Control
As well as regulating temperature in the hive, it is important to control moisture. The bees will be eating a lot of honey and respirating all winter so there is a lot of moisture produced. Combined with the heat the bees generate, this rises to the top of the hive and, if not controlled, it will condense and drop cold water down onto the bees. This can be fatal for any bee that gets dripped upon.
I install a piece of fiberboard cut to the size of my hive boxes at the very top of the hive. This absorbs moisture all winter and in the spring, I set them in the greenhouse to dry them out so I can reuse them.
In addition to the fiberboard, I feed with granulated sugar in the winter. I made feeders that are basically a box with an opening that extends over each frame, across the width of the box. I dump a bag of sugar into this and it absorbs moisture as well. In fact, any leftover sugar in the spring is quite hard.
I have an upper entrance on all my hives. In the summer I sometimes screen over it to prevent robbing, but in the winter, I want to make sure it is open and not covered by the wraps or somehow blocked. This allows the flow of air through the hive and helps move moisture out of the hive.
Some beekeepers cut a slot from the center of the fiberboard to the front so that the moisture and the bees have a path out just above the feeder. This allows more exposure of moisture to the fiberboard. I haven’t done this yet, but perhaps I’ll take care of that next spring when I pull the fiber boards off.
Weighing the Hive
I have a luggage scale that I use to measure hive weight. I made a frame that allows me to lift the back of the hive and I assume I am getting half the weight. This gives me some idea of the relative health of each hive. It’s a good measure of general health in that particular hive.
I weighed an empty set of equipment just to have a comparison of what’s actually in the hive that isn’t wood or metal. My grandsons help with this, doing the recording of the weights.
Checking the Hives
We sometimes get a lot of snow. I check the hives to see that the entrances are open and not blocked by snow or ice. This is a good time to check for dead bees out front as well. The workers will remove dead bees from the hive and drop them out front. While I don’t like to see dead bees, it does tell me there are workers moving the dead out of the hive.
On warm days, I check to see if the girls are flying to and from the entrance. It’s just another way of checking hive health. I also keep a stethoscope in the bee shed. If I gently tap on the hive while listening I can usually hear a response from the bees. Just paying a little attention over the winter eases my worries. I don’t think it helps the bees, but it does help me.
Author